User API Tokens
User tokens allow you to interact with all resources connected to your user profile including your Sandbox, organizations, and any applications under those at a scope level you define.
Viewing User Tokens
You can view the API tokens for your user by choosing User API Tokens on the left navigation menu item on the My Account page. You can go to this page by clicking your avatar on the bottom left of the page and selecting "My Account".
The list of user tokens includes the token's name, description, its creator (which may be yourself or another API token), and the token's expiration date.

Generating an API Token
User API tokens can be added by using the Add User Token button on the User API Tokens page. Token setup requires four pieces of information:
Name and Description
The token's name is required, and it is simply for display purposes and is required to help you differentiate your user tokens. The token's name in no way affects its functionality. Optionally, a longer description may be provided for additional information on the token.
Token Expiration Date
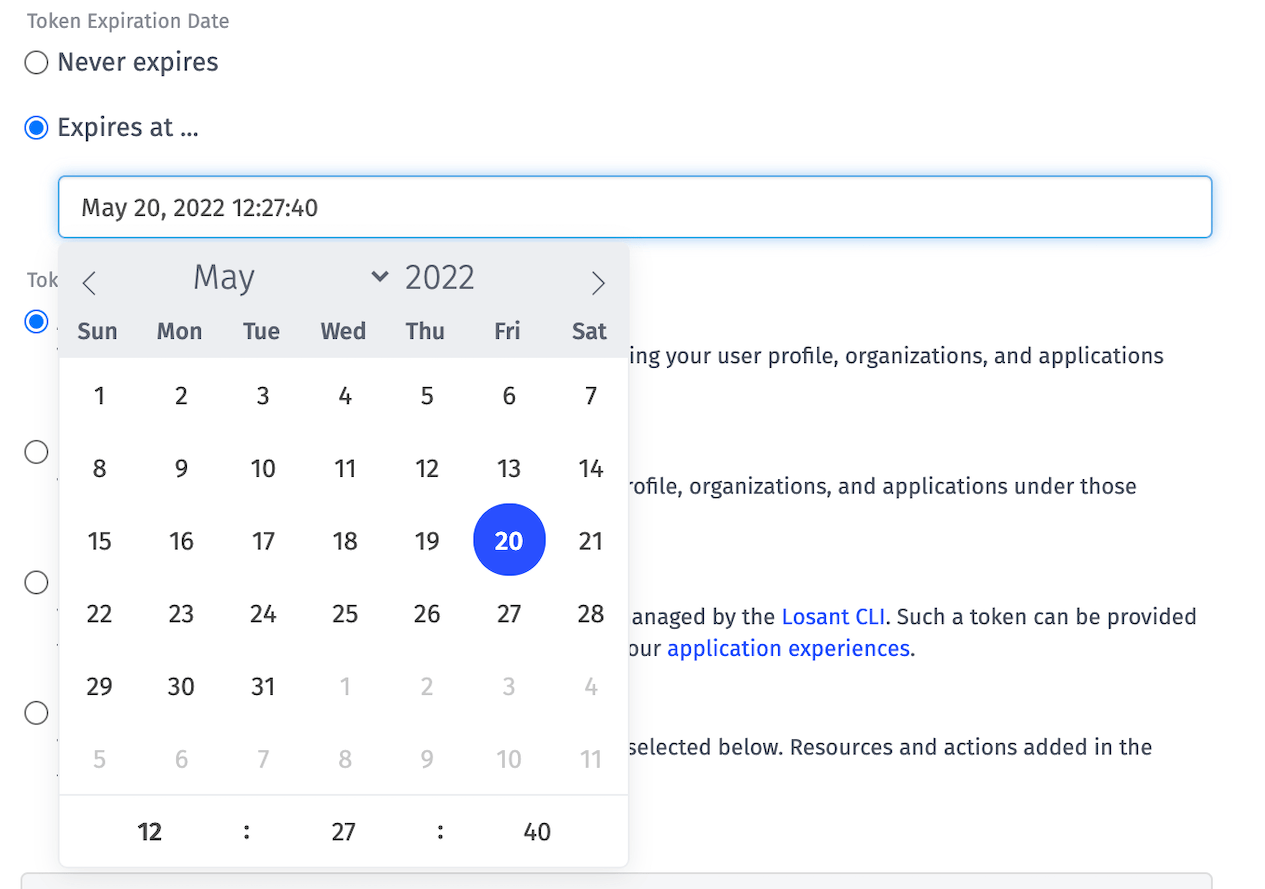
By default, the "Never expires" option is selected. This means that by default user tokens never expire. Optionally, if you would like a user token to expire, choose "Expires at ..." and then set a future date/time after which requests using this token should no longer be accepted. The default expiration date with this option is one year from creation.

Note: the expiration date cannot be changed after token creation. If the expiration date passes while the token is in use, you will have to generate a new token and replace it within your authentication requests.
Token Permissions
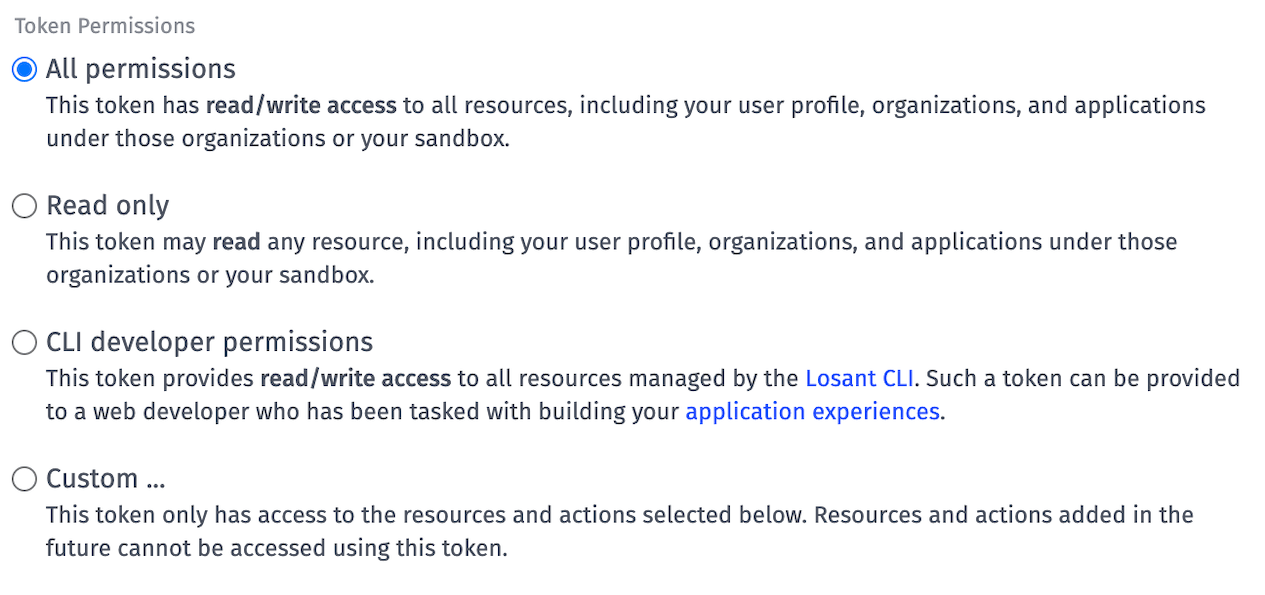
There are four options for setting the token's scope ...

All permissions allows the token to create, read, update and delete all resources under your account, including (but not limited to) your user profile, Sandbox, organizations, additional user API tokens and any applications within these resources. Losant resources and actions added in the future will automatically be accessible using an "All permissions" token.
Read only allows the token to read – but not modify – any user sub-resource. This includes reading from any applications from your Sandbox or organizations, and from your user profile itself. Future Losant resources' "read" actions, as well as new "read" actions added to existing resources, will automatically be accessible using a "Read only" token.
CLI developer permissions allows the token to read and write to all resources managed by the Losant CLI. Future Losant resources' "CLI" actions, as well as new "CLI" actions added to existing resources, will automatically be accessible using a "CLI developer permissions" token.
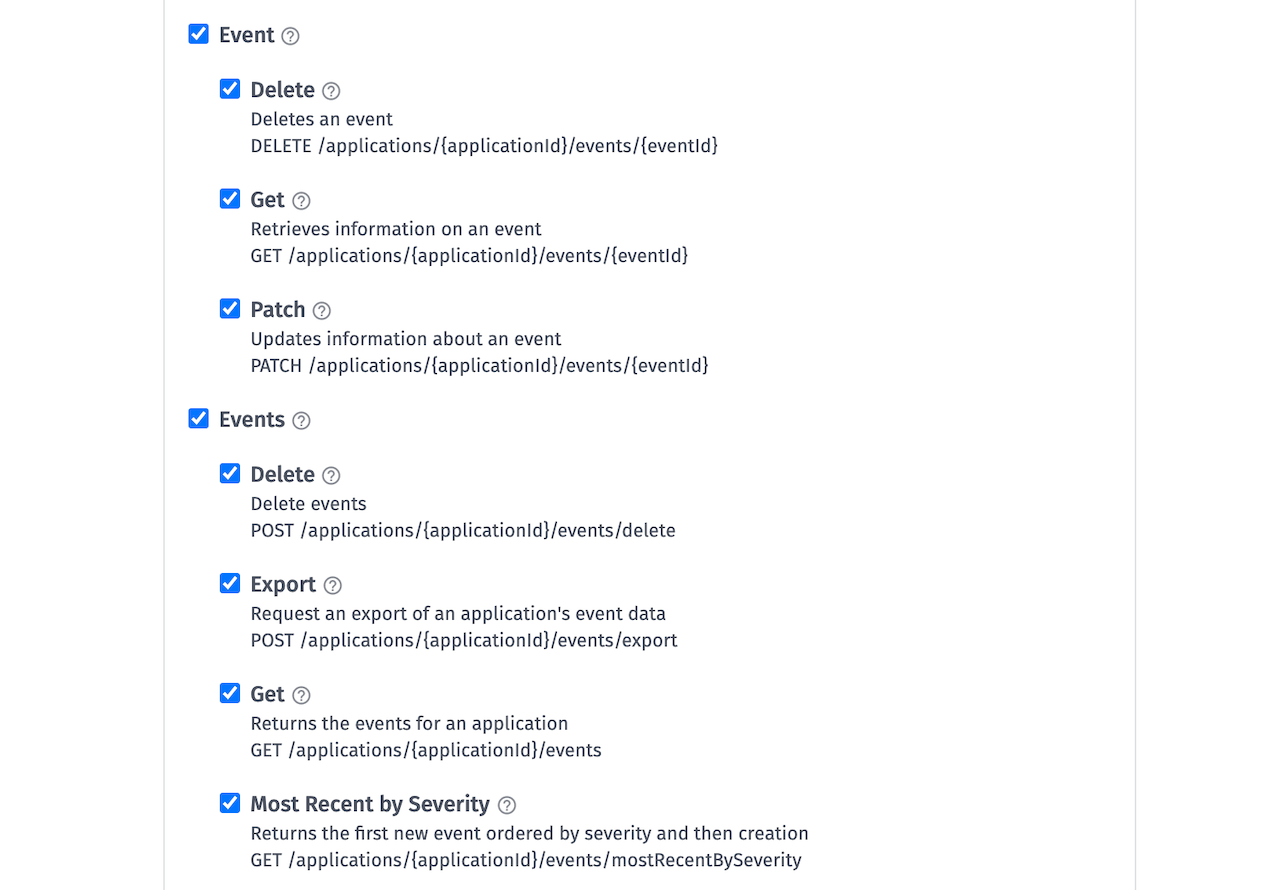
Custom ... allows for selecting specific resource / action combinations from the Losant REST API that the token should be allowed to access. Choosing this option reveals a list of all user-accessible API calls in the Losant Platform, each of which may be individually added to the token's scope. For example, to only manage events across applications you might select only the checkboxes shown in this screenshot ...

The checkboxes next to the resource names will automatically check or uncheck all actions under that resource. However, checking such a box does not provide the token access to any new actions that may be added under that resource in the future. If a new action is added under a resource, and you would like your token to have access to that action, you will have to generate a new token.
Note that a token's scope cannot be changed after token creation. If you find you need additional permissions not allowed by the token, you will have to create a new token. Likewise, if you would like to revoke permissions originally supplied to a token, you will have to delete the token and create a new one with the desired scope.
Getting the Token
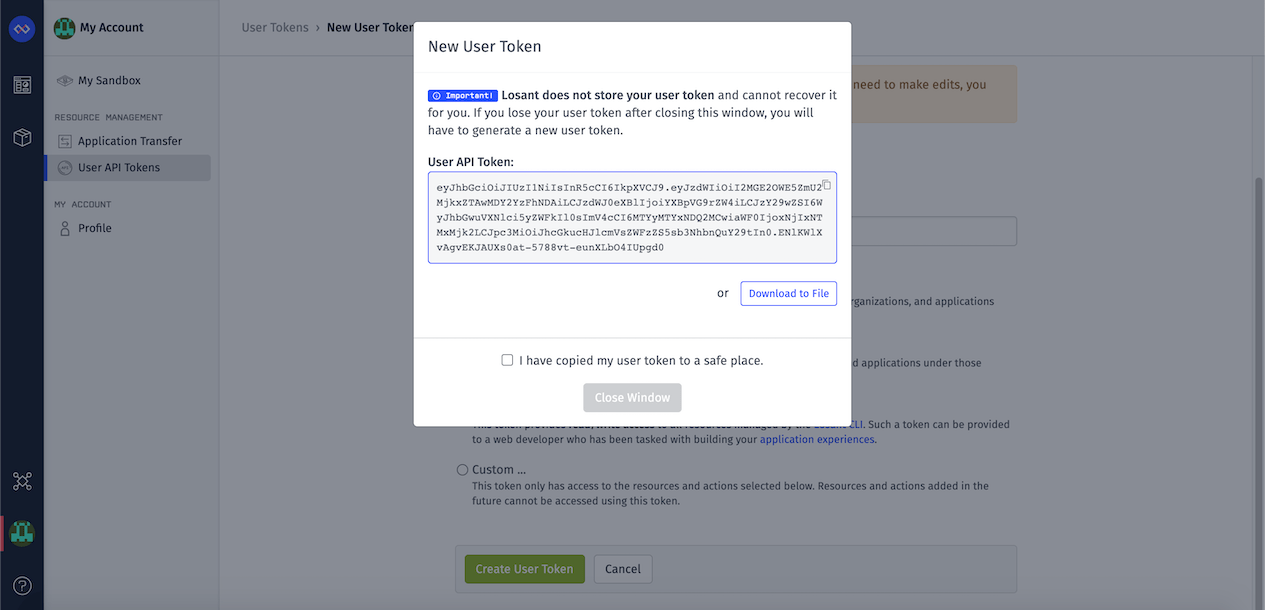
After clicking Create User Token, the newly created token will be displayed. You will either need to copy it to a secure location or download it to a file on your computer.
IMPORTANT: Losant does not store API tokens and they cannot be recovered or regenerated if lost. If you fail to save your token before closing the modal, you will have to generate a new user API token.
When you're finished, check the I have copied my user token to a safe place box and click Close Window.

Deleting / Deactivating an API Token
To temporarily deactivate a user API token ...
- Toggle the switch in the list view, OR
- From the token's detail page, select the "Inactive" radio button under the "Status" label and save the token.

If a token has expired, is no longer needed or is thought to have been compromised, you may permanently delete it by:
- Clicking on the
Deleteicon in the token list, OR - Clicking the
Delete User Tokenbutton on the token's detail page
Using API Tokens
To learn more about using API tokens with our REST API, check out the various Losant REST client libraries and the Losant CLI.
Was this page helpful?
Still looking for help? You can also search the Losant Forums or submit your question there.