Files
Losant has built-in file management functionality to allow for uploading and referencing static resources for use within your application.
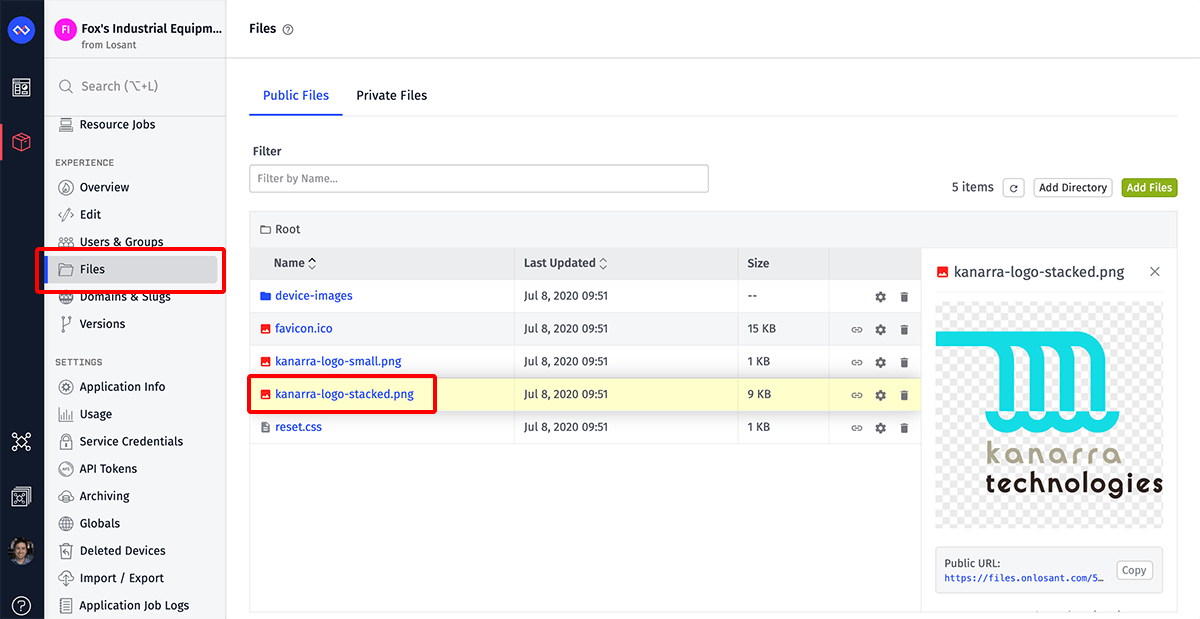
Viewing Files
You can access all the files within an application by clicking the "Files" tab in the application menu bar, then selecting either the "Public Files" or "Private Files" tab at the top of the page.
From there, you can click a file's name to view more details, or click a directory's name to view its contents.
Public vs. Private Files
Files are broken into two categories: Public Files and Private Files. Each serves different purposes and are accessed in different ways by Losant users, experience users, and unauthenticated visitors.
Public Files
As the name implies, Public Files are accessible to anybody who has the URL to the file. Public Files are intended to be used for resources that need to be widely available and whose contents are not considered secure or sensitive, such as images, stylesheets, JavaScript files, and other assets used in Experience Views and Dashboards.
Publie File URLs
Public File URLs are predictable and follow this format:
https://files.onlosant.com/applications/{applicationId}/{fileDirectory}/{fileName}
The URL is a combination of ...
- A host, which is the same across all applications.
- The application ID, which is unique across the platform.
- The file's parent directory (URL encoded).
- The file's name (URL encoded).
Private Files
Private Files are intended for resources that should only be accessible to authenticated users within your Losant application or your end user experience. Examples of such files include pre-generated data exports; notebook outputs; and device firmware updates.
Private File URLs
URLs for Private Files are signed URLs that are generated on demand through several methods:
- Viewing the file through the Private Files user interface.
- Retrieving the file through the Losant API's Private Files: Get (for multiple files) or Private File: Get (for a single file) endpoints.
- Using the
{{file}}helper with theprivate=trueflag in an Experience View. - Executing a File: Create Node or File: Get Node in a workflow and opting to place a link to the file on the payload.
By default, signed URLs are valid for 15 minutes after generation, though this can be adjusted when generating the signed URL.
Uploading Files
Files can be uploaded one of two ways:
- Clicking the "Add Files" button in the top right corner of the files table. This will open your operating system's native file browser dialog, where you can one or multiple files to upload.
- Dragging files from your file system onto the table. Doing so will place a green overlay on the table to indicate that the selected files can be uploaded.
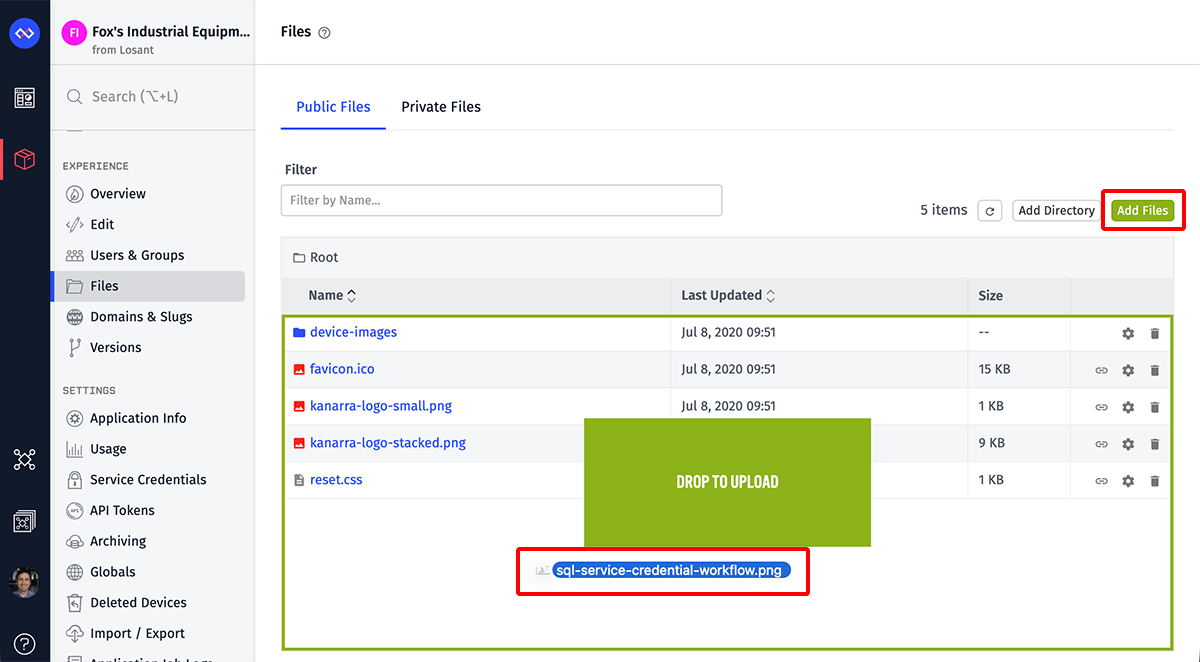
There are a couple things to keep in mind when uploading files:
- Files are uploaded to the directory you are currently viewing.
- Some characters in your file names may not be valid URL characters, and as a result, the URLs where you access the files after upload may be slightly different from the file's name on your file system.
- Directories on your file system cannot be uploaded. If you wish to upload the entire contents of a directory, you will have to select all the files within it and upload them.
- Each upload can support a maximum of 25 files. To upload more files than that, you will have to break the files up into chunks of 25 or fewer files and do one batch at a time.
Directories
Optionally, you can organize your application's files into directories, which can make categorization and ongoing management easier, especially if you are managing a large number of files.
To create a directory, click the "Add Directory" button atop the files list. This will present a modal where you can enter a new directory name.

If you enter a name with slashes (such as "/foo/bar/bat"), this will automatically create the directory "foo" at the root level, with a directory "bar" as a child, and the directory "bat" as a child of that.
Directories are always listed at the top of your list of files, regardless of sorting and filtering properties. To view a directory's contents, click its name, which will navigate the file browser into that directory. You will then see a list of all subdirectories and files within it. From this view, new files can be uploaded to this directory.
Managing Files and Directories
After files have been uploaded and directories have been created, they can be renamed and moved to other locations within your application's file structure. Note that doing so, however, can break any places where you are currently using a file or a file that is a child of the changed directory.
Editing Files and Directories
To edit a file, click the file's name or the gear icon to bring out a detail panel. To edit a directory, you must click the gear icon as clicking the directory's name will navigate the file browser into the directory.
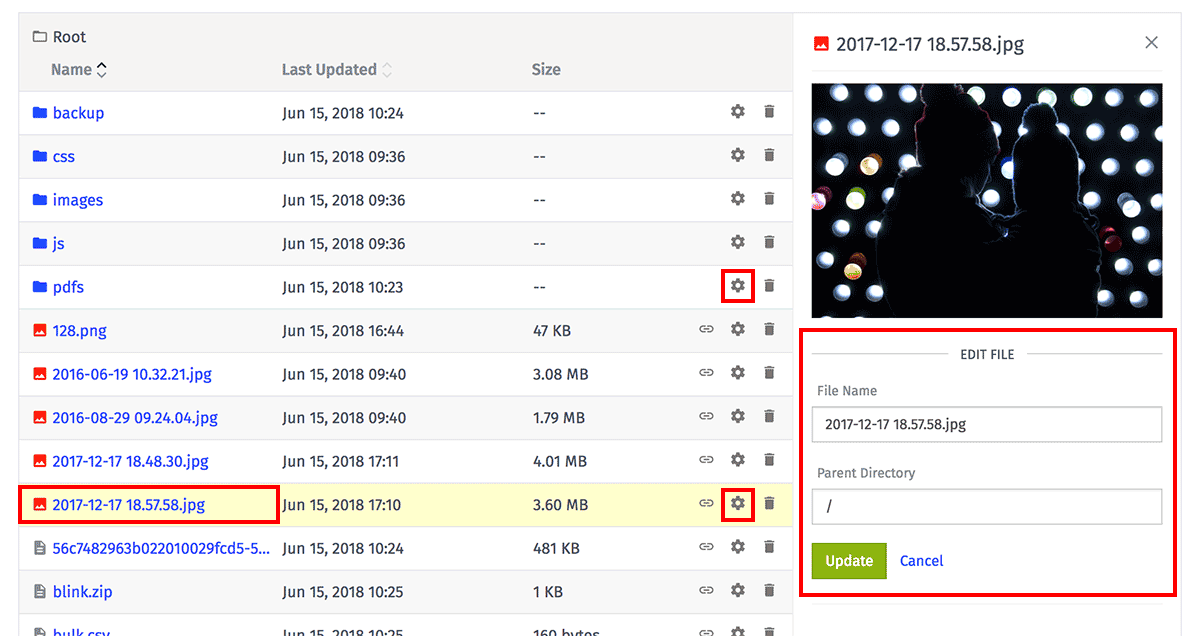
From the detail panel, the item can be renamed or moved to another directory. Just like with creating a directory, moving the item to a directory with slashes in the name will create new directories for each segment down the line.
Note: Editing a file's name or parent directory will break any links to the file that you're currently using in your application, just as if you were moving or renaming the file on a web server. Requests to any URLs of files affected by the edit will stop working after the edit is complete.
Renaming and/or moving a file is a very quick process, though there can be a few seconds of time between when the file move starts and when it is available at its new URL. Renaming or moving a directory can take a much longer time, depending on how many subdirectories and child files exist within the edited directory, as each of these items must also be moved. When a file or directory is in the process of moving, the file browser may display the old item in a "Moving" state and the new item in a "Waiting" state until the move is complete, at which point the "Moving" item will disappear from the list.
Deleting Files and Directories
To delete a file or directory, either click the "Delete" icon in the file row, or click the "Delete" link at the bottom of the detail drawer.
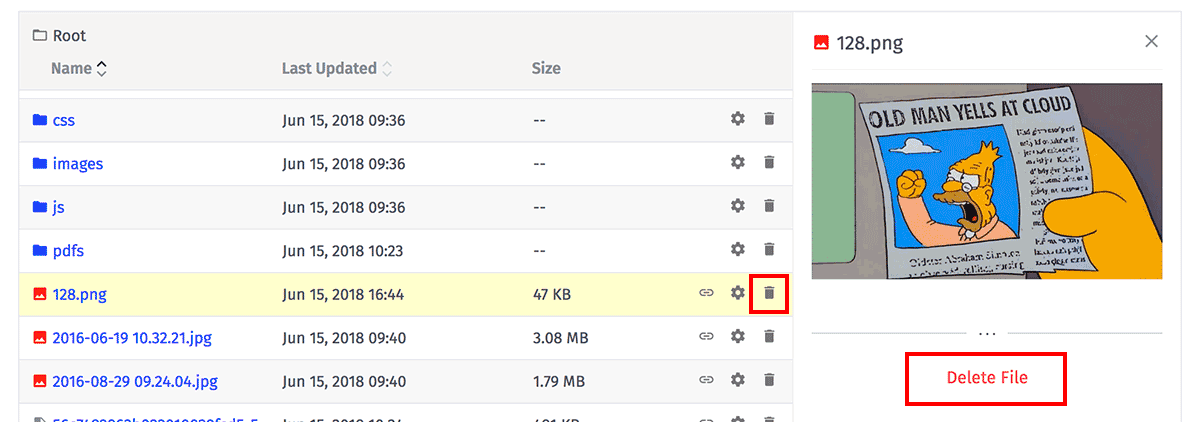
Just as with editing, deleting a file takes very little time, and deleting a directory can potentially take much longer as every subdirectory and child file must also be deleted. An item that has been deleted may temporarily show in your file browser with a status of "Deleting".
Deleting files and directories cannot be undone, nor can files that were in a deleted directory be recovered. Any links to the deleted files will cease to function once the deletion process is complete.
Using Files
Once a public file has been uploaded within your application, it is to anybody who has the URL – including across different Losant applications.
Private files, on the other hand, can only be accessed by generating a signed URL through one of the methods described above.
File URLs
The full URL of any file can be found in the file's detail drawer, whether it be a static public file URL or a generated private file signed URL (which will expire after 15 minutes by default). You can click the link to download the file or press the "Copy" button to copy the URL to your browser's clipboard for pasting in another place. You can also click the "Link" icon in the file's row to copy the link.
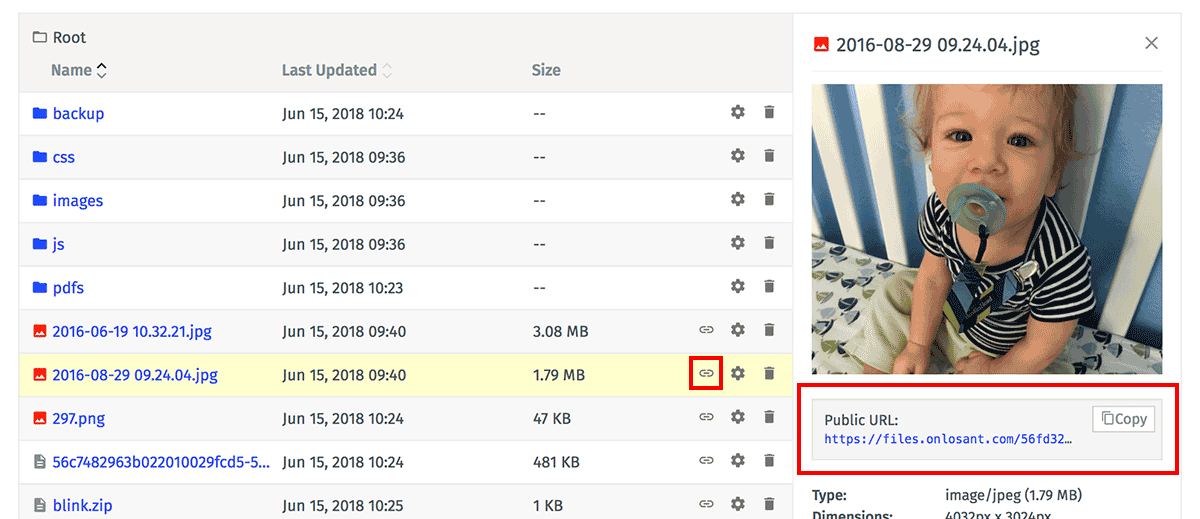
Directories cannot be directly linked to; attempting to link to a directory will return an error, instead of a list of the directory's contents.
Referencing Files in Losant
While a public file's URL can be pasted in directly wherever one is needed, there are some helper components in the platform to help you quickly retrieve a file's URL - and these must be used when referencing private files.
Files in Experience Views
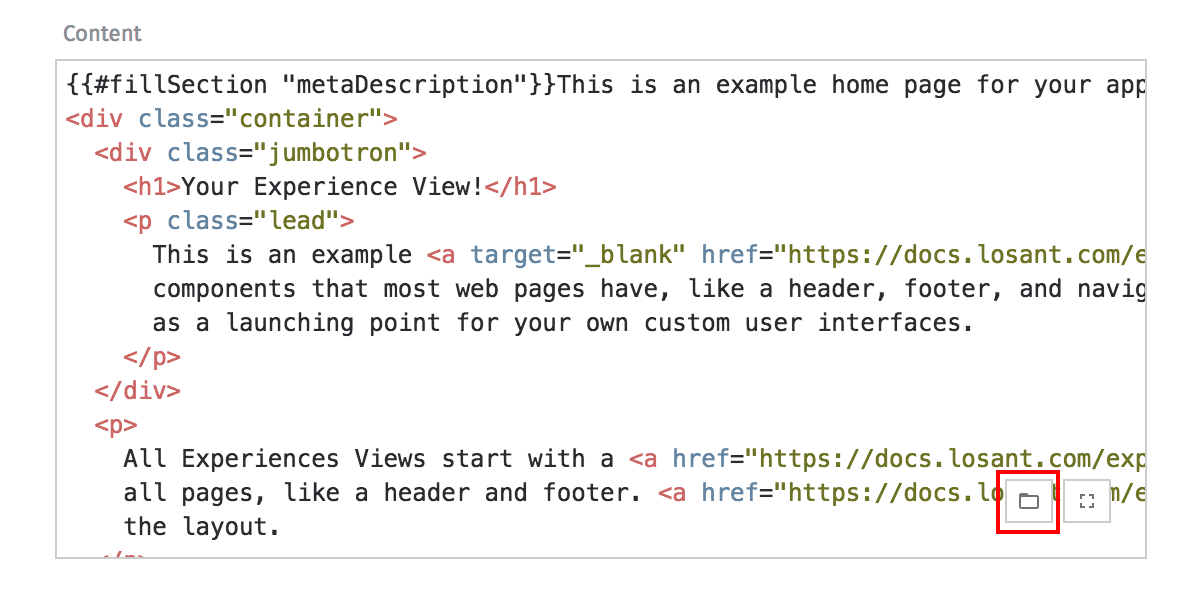
In Experience View editors, you can click the "Folder" icon in the bottom right corner of the code textarea to bring up a modal where a public or private file can be selected. Choosing a file will insert a {{file}} helper at the point where the text cursor was when the button was clicked. The helper will be replaced with the full URL of the selected public file, or a signed URL to the selected private file that expires after the selected TTL, when the Experience View is rendered. For example, a short-lived link to a private notebook output in a directory scoped to the experience user making the request can be created using a combination of the {{file}} helper and the {{template}} helper:
Files in Dashboard Blocks
When referencing files in dashboard blocks, such as image files in an Image Block or background images in a Position Chart Block, only public files may be used.
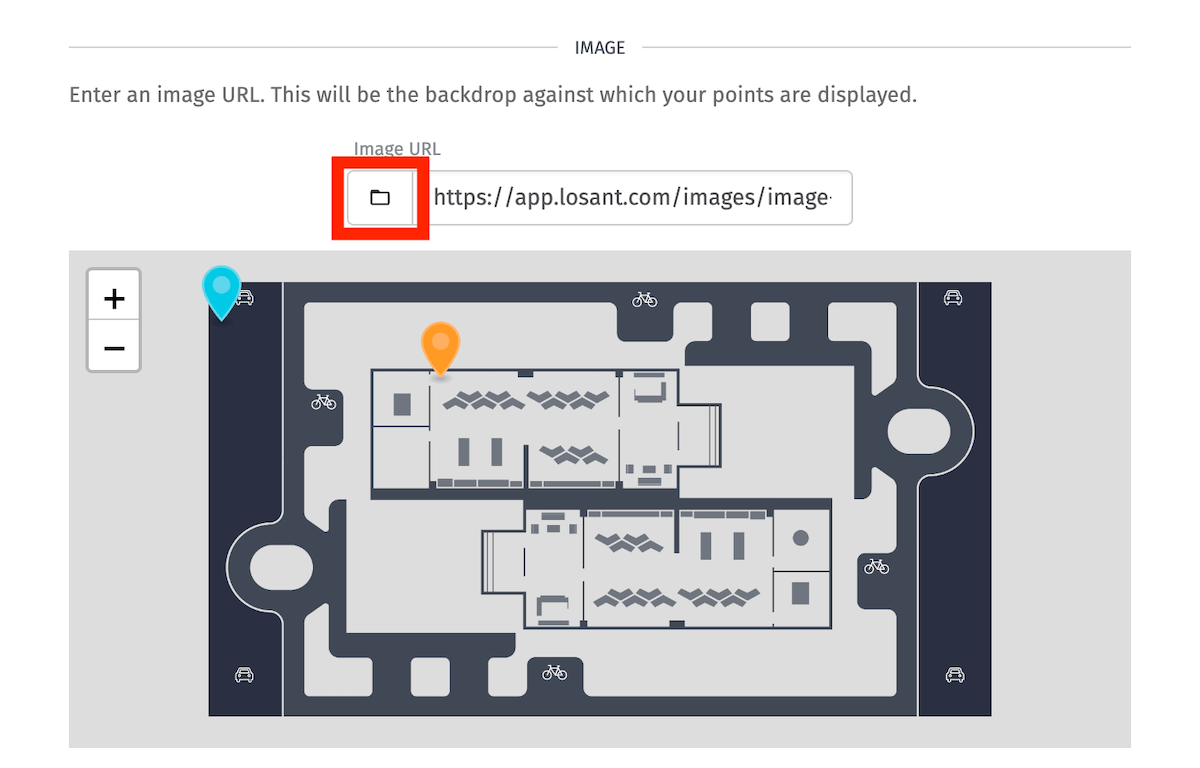
You may use the file selector to browse your public files and select an image; however, in these cases, the fully resolved public URL will be placed in the input, rather than a {{file}} helper.
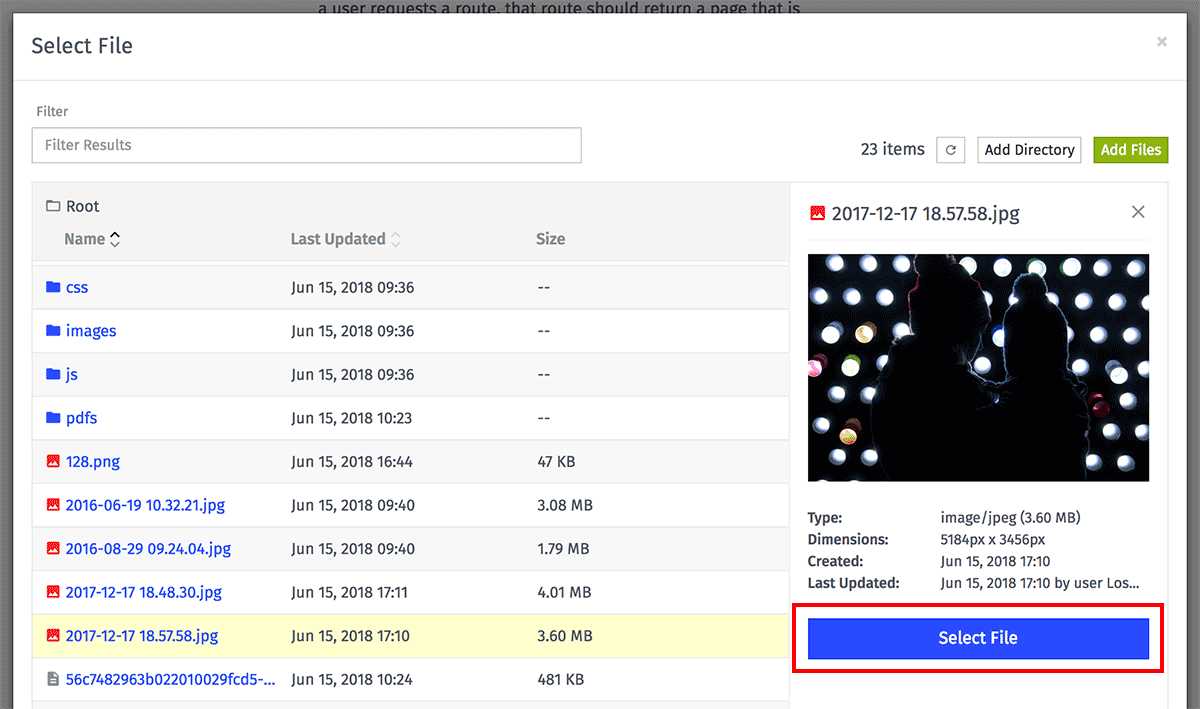
In the file selection modal, files can be uploaded and directories can be created, but neither can be moved or deleted. A file may be only selected – by pushing the "Select File" button in the detail drawer – at which point the modal will close and return you to the previous view.
File Cache
All Application Files are accessed through a cache, with files being cached for up to five minutes. While serving the files from a cache does greatly improve delivery performance, it can also have the negative consequence of continuing to serve out-of-date files for a short period of time when re-uploading a file of the same name to the same directory.
To get around this, you may utilize a common cache-busting technique of including a unique value as a query parameter when requesting the resource.
For example, in an Experience Layout, if you are referencing a stylesheet like so ...
<link rel="stylesheet" type="text/css" href="{{file '/resources/css/style.css'}}">
... then making changes and uploading a new file to that location may take a few minutes to reflect in your layout.
Instead, you could ensure that every request to fetch the stylesheet bypasses the cache by providing a unique query parameter (in this case, the current time in milliseconds since Epoch) ...
<link rel="stylesheet" type="text/css" href="{{file '/resources/css/style.css'}}?t={{currentDateTime 'x'}}">
While this solves the problem of serving a stale file, it also bypasses the benefits of the caching system. A good compromise is to only append the unique query parameter when viewing the "develop" version of your Application Experience, like so ...
<link rel="stylesheet" type="text/css" href="{{file '/resources/css/style.css'}}{{#eq experience.version 'develop'}}?t={{currentDateTime 'x'}}{{/eq}}">
This allows your Experience Users to benefit from the improved performance (assuming they are viewing your Application Experience on one of your published versions) while allowing your product developers to iterate quickly on the "develop" version.
Appearance in Public Search Results
In February 2022, Losant began returning an "X-Robots-Tag" header with a value of "none" for all public application file requests. This has the effect of discouraging (but not outright banning) web crawlers from indexing the files and returning them in search results.
Public files uploaded before February 2022 may continue to appear in search results for a period of time before eventually being removed from the major search indexes. Files uploaded after this time should never appear in public search results.
Limits
The max file size limit is 5GB. This limit applies when uploading files through the Losant user interface, and when uploading to the storage provider using the signed URL returned by the Files: Post, File: Patch, Private Files: Post, and Private File: Patch API endpoints.
When uploading the file using File: Upload or Private File: Upload API endpoints, the max file size is 10MB.
Was this page helpful?
Still looking for help? You can also search the Losant Forums or submit your question there.