Switch Node
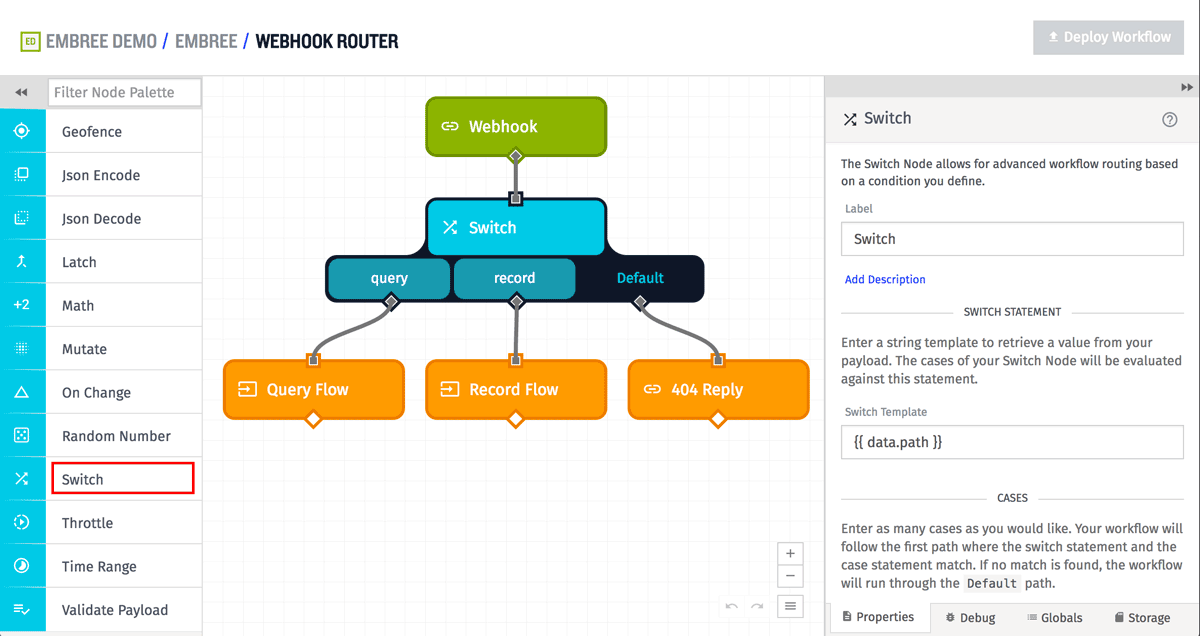
The Switch Node allows a workflow to branch across many different paths based on matching a switch statement against various case values.

Configuration
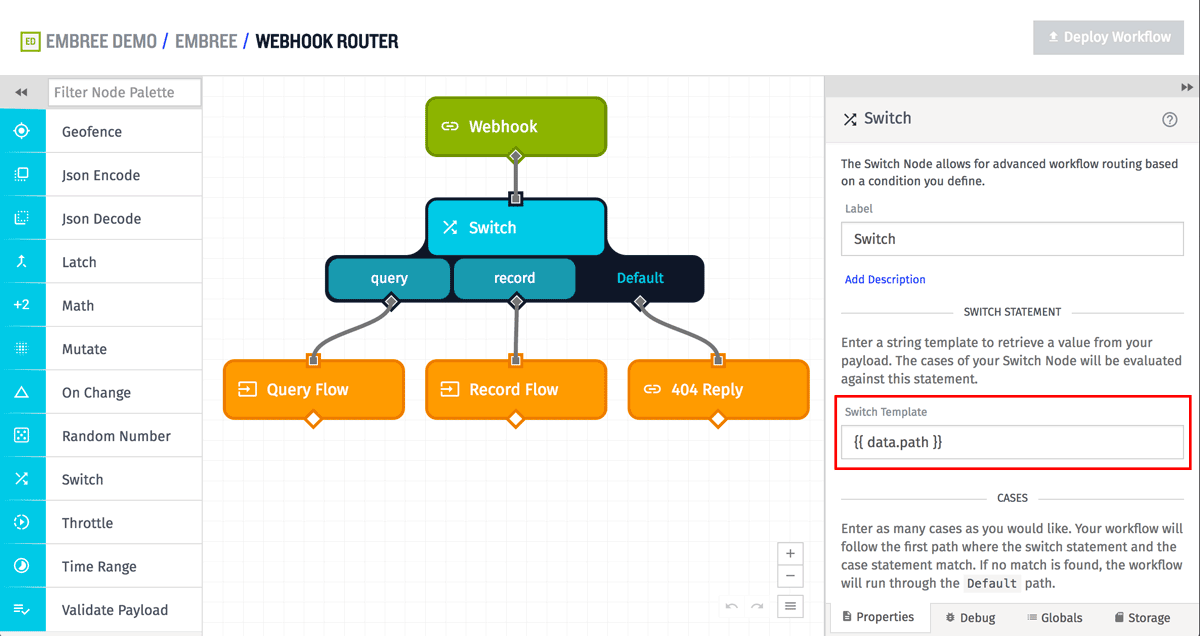
To configure a Switch Node, first you fill in the 'Switch Template' - a string template that the workflow will evaluate to determine the base value to compare the various possible branches against.

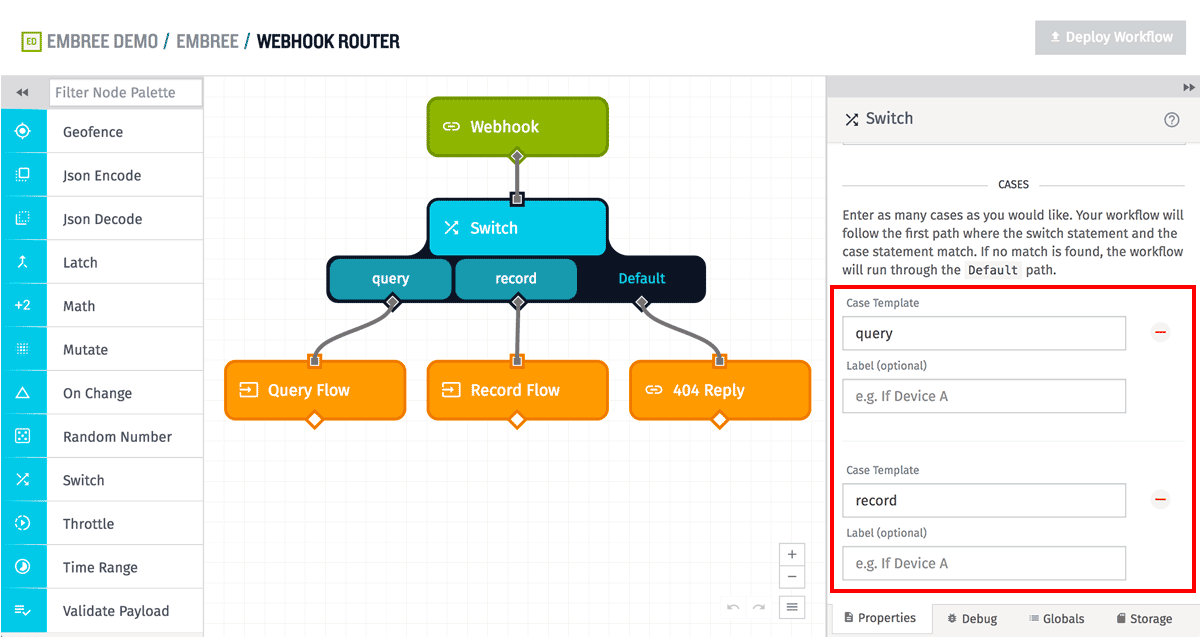
Next, you fill in various Case Templates, which are also string template - one for each possible branch for the Switch Node. You may optionally provide a label for each case, which only affects how the branch is displayed on the workflow canvas. A case's label has no effect on its evaluation.
When the workflow runs, the first evaluated case template that matches the evaluated switch template will be the branch that is followed by the workflow. If no cases match, then the Default branch is used instead.

In the above example, the workflow will match the first case (the leftmost) whenever the value of the payload field data.path is equal to the string "query". It match the second case (the middle) whenever the value of the payload field data.path is equal to the string "record". If the value of data.path does not match either of those cases, it will match the Default case on the right.
Note: Because these fields are always interpreted as strings, take note of how templated inputs might be transformed when used in Embedded Workflows.
For example, the following workflow payload would match the "record" case, and take that middle branch:
{
  "data": {
    ...
    "path": "record",
    ...
  },
  ...
}
Was this page helpful?
Still looking for help? You can also search the Losant Forums or submit your question there.