Gateway Edge Agent Installation
Losant’s Gateway Edge Agent (GEA) is a command line utility exposed through Docker as a container you can run on your Edge Compute device. Below, there are step-by-step instructions for installing Docker and pulling down the GEA container image. While the expectation is that you’ll be running on an IoT style device, the GEA can be run on macOS and Windows as well. See the Edge Compute device documentation for additional information on qualified gateways and system requirements.
Because the Gateway Edge Agent runs as a Docker container, the main focus of this document is getting Docker installed on your machine. If you would like more information on getting the GEA configured, running, and connected to the Losant Platform, check out our Gateway Edge Agent Usage documentation.
Installing Docker with an Installation Script
Docker provides an installation script for quickly installing Docker on supported Linux distributions. You can learn more about supported operating systems in Docker’s documentation and learn more about the script in the GitHub repository. You can follow along with the video, which installs Docker on a Raspberry Pi, or read the steps below.
Get the Script
In the terminal of your supported OS, enter the following command:
curl -fsSL https://get.docker.com -o get-docker.shThis curl command saves the contents of https://get.docker.com as the shell script get-docker.sh. Once it is complete (it should only take a few seconds depending on your internet connection) you can list the contents of the directory that you are in with the command ls, and see that there is now a new file called get-docker.sh available.
Run the Script
To run the script, run the following command:
sh get-docker.shOnce you press Enter, the script will start the process of installing Docker. It may take some time depending on the machine you are on.
Run Docker Commands Without sudo (Optional)
By default, docker commands need to be run as the superuser (with the sudo command). If you would like to use Docker commands without sudo, you will need to add your username to the docker group, which was created when Docker was installed.
For the rest of this document, we assume that this step has been completed and Docker commands will be used without sudo.
sudo usermod -aG docker ${USER}If you see “Error loading config … permission denied” errors when trying to run containers, you’ll need to update the permissions on your .docker directory with the following commands:
sudo chown "$USER":"$USER" /home/"$USER"/.docker -R
sudo chmod g+rwx "/home/$USER/.docker" -R
After you have added your user to the docker group, it is recommended that you restart your machine. You can do this from the terminal with:
sudo rebootIf you are using SSH to access your machine, a reboot will terminate this connection. Give your machine a few minutes to boot back up before reestablishing the SSH connection.
Verify Docker Installation
To verify that Docker was installed successfully, you can run the following command:
docker run hello-worldThis command will pull down the hello-world Docker image (if it is not already downloaded) and run a container with that image. A successful run of this command will output Hello from Docker in your terminal.
Other Docker Installation Methods
For more information on other installation methods, please see Docker’s installation documentation.
Installing Docker on Windows
The Docker Desktop on Windows application installs Docker on a compatible Windows machine. This allows you to access the Docker CLI through command-line tools (such as Command Prompt (cmd) and PowerShell).
Note that Administrator privileges are required to install Docker. Once installed, non-Administrator users can run Docker, provided they are members of the docker-users security group. For more information on permission requirements, please see Docker’s documentation.
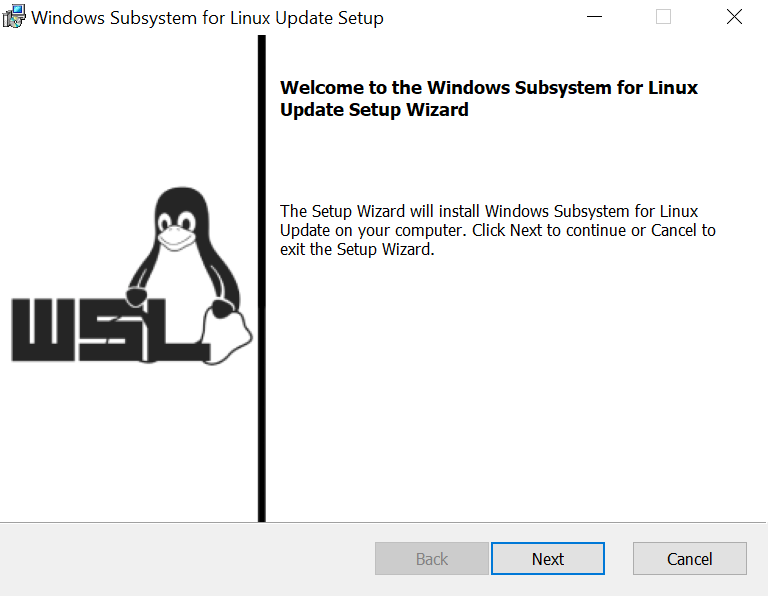
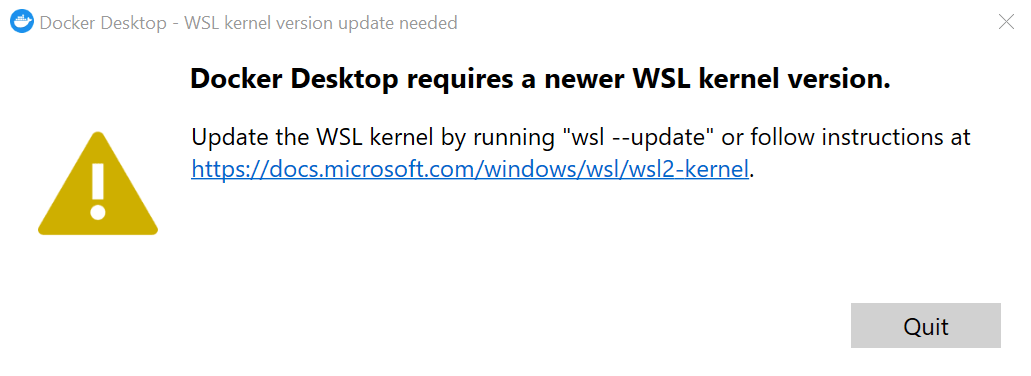
At first launch, after accepting the service agreement, the Docker Desktop app will walk you through installing or updating Windows Subsystem for Linux (WSL2) and the WSL kernel, if necessary:


Once installed, you can open your command-line tool and proceed to pull the Gateway Edge Agent image using the steps below. For information on using the Gateway Edge Agent with Docker on Windows, please see our documentation here.
Get the Gateway Edge Agent
Once you have successfully verified that Docker is installed, you are ready to pull down the Gateway Edge Agent, which you can do with the following command:
docker pull losant/edge-agentWhen a new version of the GEA is released, a new image will be built and tagged. When pulling the image down from Docker with the command docker pull losant/edge-agent, Docker defaults to pulling down the most recent version. If you would like to pull down a specific version of the image, you can do so by appending a version number to the end of that command:
docker pull losant/edge-agent:1.21.0You can see the most recent version on the GEA’s Docker Hub Page and learn more about features in specific versions of the Gateway Edge Agent in the GEA Changelog.
For instructions on configuring and running the GEA container, check out our Gateway Edge Agent Usage documentation.
Alternative GEA Builds
We do offer alternative builds of the Gateway Edge Agent for use on more specific hardware. For example, we offer an alpine version that is smaller in size but does sacrifice a bit of functionality (for example, the Tensorflow Node does not work). We also support amd64, arm, and arm64 architectures.
A Note on libseccomp2 Compatibility
Older Linux distributions may include an outdated version of libseccomp2, which results in an error when attempting to run the Gateway Edge Agent. This is most commonly seen by users running a version of Raspberry Pi OS based on Debian 10 (“Buster”) or older with GEA versions 1.36.0 and newer, which are based on Debian 11 (“Bullseye”). This is due to legacy Raspberry Pi OS mainline branches maintaining an outdated libseccomp2 version.
This error appears in Docker as:
#
# Node.js[8]: ../src/util.cc:191:double node:GetCurrentTimeInMicroseconds(): Assertion `(0) == (uv_gettimeofday(&tv))` failed.l
# Aborted
Or in Alpine builds as:
#
# Fatal error in , line 0
# unreachable code
#
#
#
# FailureMessage Object: 0xb3e3a27c
This can usually be resolved by updating to the latest version of your Linux distribution, such as the most recent distribution of Raspberry Pi OS.
Alternatively, you can manually resolve this issue by updating libseccomp2 to version 2.5.1.1 or newer. This can be done in several ways, but our recommendation is to install it from the Buster Backports repo as detailed in this blog post:
# Get signing keys to verify the new packages, otherwise they will not install
rpi ~$ sudo apt-key adv --keyserver keyserver.ubuntu.com --recv-keys 04EE7237B7D453EC 648ACFD622F3D138

# Add the Buster backport repository to apt sources.list
rpi ~$ echo 'deb http://httpredir.debian.org/debian buster-backports main contrib non-free' | sudo tee -a /etc/apt/sources.list.d/debian-backports.list

rpi ~$ sudo apt update
rpi ~$ sudo apt install libseccomp2 -t buster-backports
For more information, please refer to our Docker Hub Page and ask any questions you may have in our Forums.
Was this page helpful?
Still looking for help? You can also search the Losant Forums or submit your question there.
