How To Secure a Custom Experience Domain With Let's Encrypt
Securing your Losant Experience Domain with an SSL certificate is crucial to ensuring the safe and encrypted transfer of data using your custom domain. All Experience Slugs are encrypted automatically, therefore obtaining an SSL certificate is only required to secure your custom domain.
Let's Encrypt allows developers to obtain the digital certificates needed to enable HTTPS (SSL/TLS) for their custom domains for free. It is not required to use Let's Encrypt to obtain an SSL; you have the flexibility to use any Certificate Authority you choose.
This guide will describe how to obtain an SSL certificate from Let's Encrypt, and how to implement that certificate to secure your Experience Domain.
Here’s what you’ll need:
- A domain from any registrar.
- Docker, which we'll use to generate the certificate.
- An Application Experience.
Note: All commands in this guide are intended for MacOS or Linux machines. Windows commands will need to be adjusted to reference the Windows file structure.
Step 1: Add your Losant Experience Domain to your CNAME DNS Record
Before you can set up an SSL and secure requests to your Experience Domain, you'll need to first point your domain to your Application Experience. See our guide on configuring DNS records to point a custom domain with your Losant Experience.
Once you've configured your domain in Losant and added the proper DNS Records, and DNS propagation has completed (can take anywhere from 5 minutes to 24 hours), you can visit your domain in a web browser and see your Experience!
Step 2: Obtain a Let's Encrypt SSL Certificate
Certbot is a free, open-source software tool for generating Let’s Encrypt SSL certificates. They provide a Docker container that, once run, allows you to save your SSL certificate right to your computer for easy transfer to Losant.
Here’s the command:
docker run -it --rm --name certbot \
  -v "$PWD/my-ssl-certificates:/etc/letsencrypt" \
  -v "$PWD/my-ssl-certificates:/var/lib/letsencrypt" \
  certbot/certbot certonly --manual --preferred-challenges dns
This command mounts a volume on your computer to a directory inside the Certbot container so that the output from the container will be accessible. $PWD in the directory path represents the Present Working Directory of your machine. If the directory my-ssl-certificates does not exist in your Present Working Directory, Docker will create that directory when you run this command.
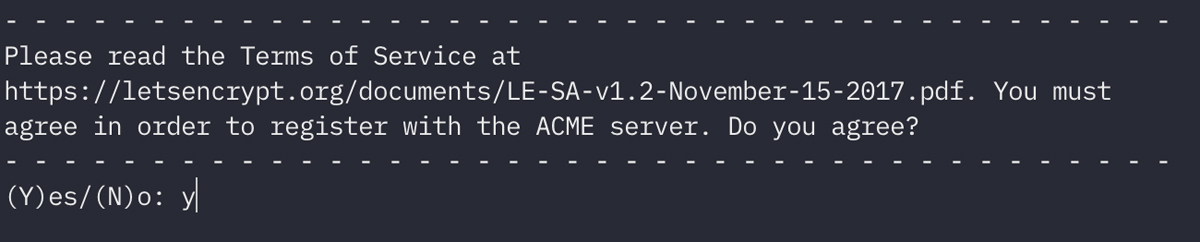
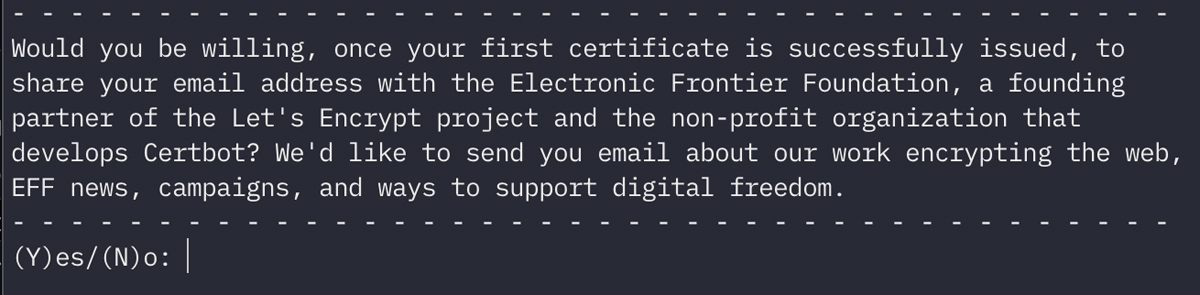
Once you press Enter on the Docker command, you will be walked through creating your SSL certificate.

Once you get to the option to enter your domain name, make sure to include the subdomain you pointed your domain's CNAME record to (i.e. www.mydomain.com or my-iot-experience.mydomain.com).

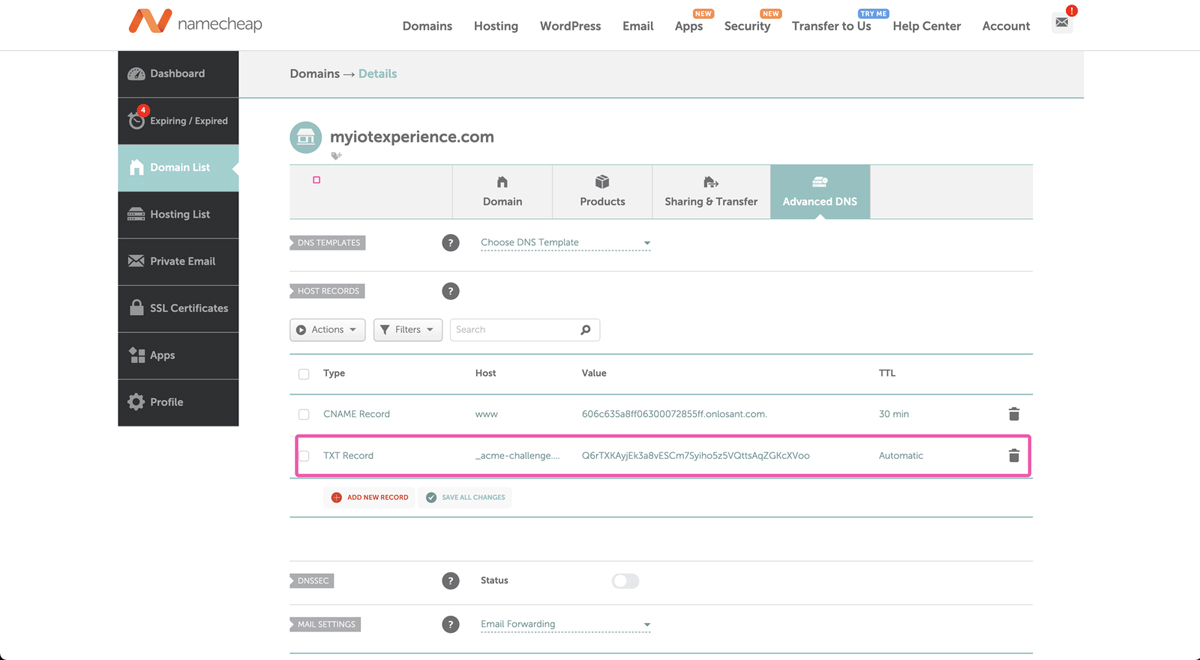
Then, you will be prompted to add a DNS TXT Record in your domain registrar to verify you have control of this domain. Create a new DNS TXT Record ...
- Set the "host" to
_acme-challenge.YOUR_SUBDOMAIN, whereYOUR_SUBDOMAINis the subdomain used when pointing a CNAME record to your experience (i.e. "www" or "my-iot-application"). - Set the value to what is provided in the prompt (i.e. "Q6rTXKAyjEk3a8vESCm7Syiho5z5VQttsAqZGKcXVoo").
After you save the new TXT Record in your domain registrar, wait a few minutes (up to 24 hours) for the record to propagate, and then press Enter in your terminal.

Step 3: Add your SSL Key and Certificate to your Losant Experience
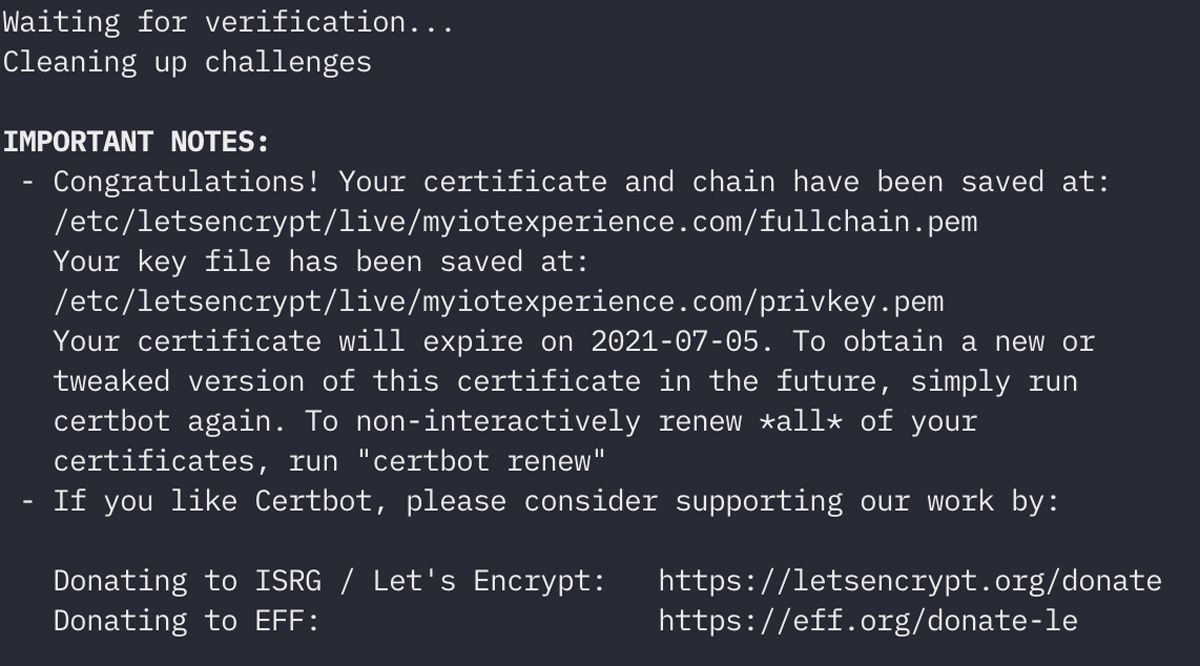
Now that you’ve successfully created an SSL key and certificate, it’s time to add it to your Losant Experience.
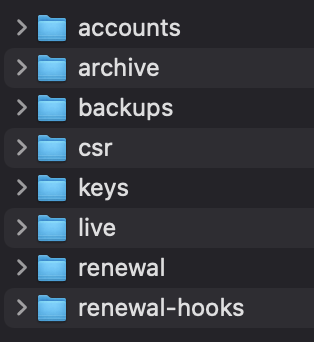
In Step 1, you referenced a directory on your computer with $PWD/my-ssl-certificates, or a different directory. Go to the directory you used, and you’ll find a series of directories, including one called 'live':
Open the live directory, and you'll find another directory matching the domain name you entered:

In the directory named after your domain, you'll find a few files. The ones you'll need to enter into your Losant application are "privkey.pem" and "cert.pem":

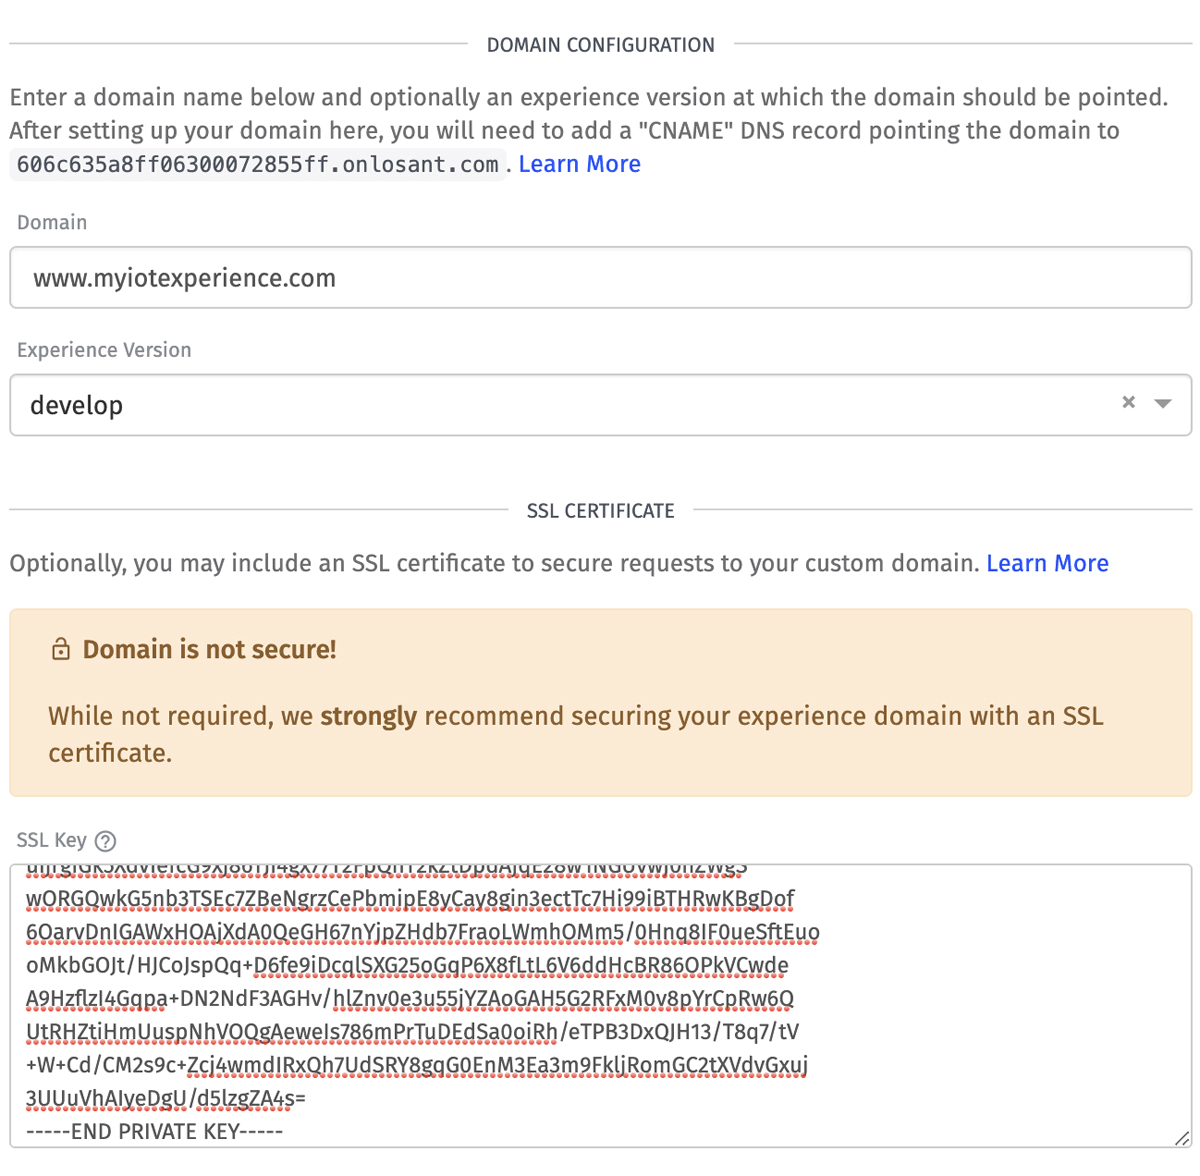
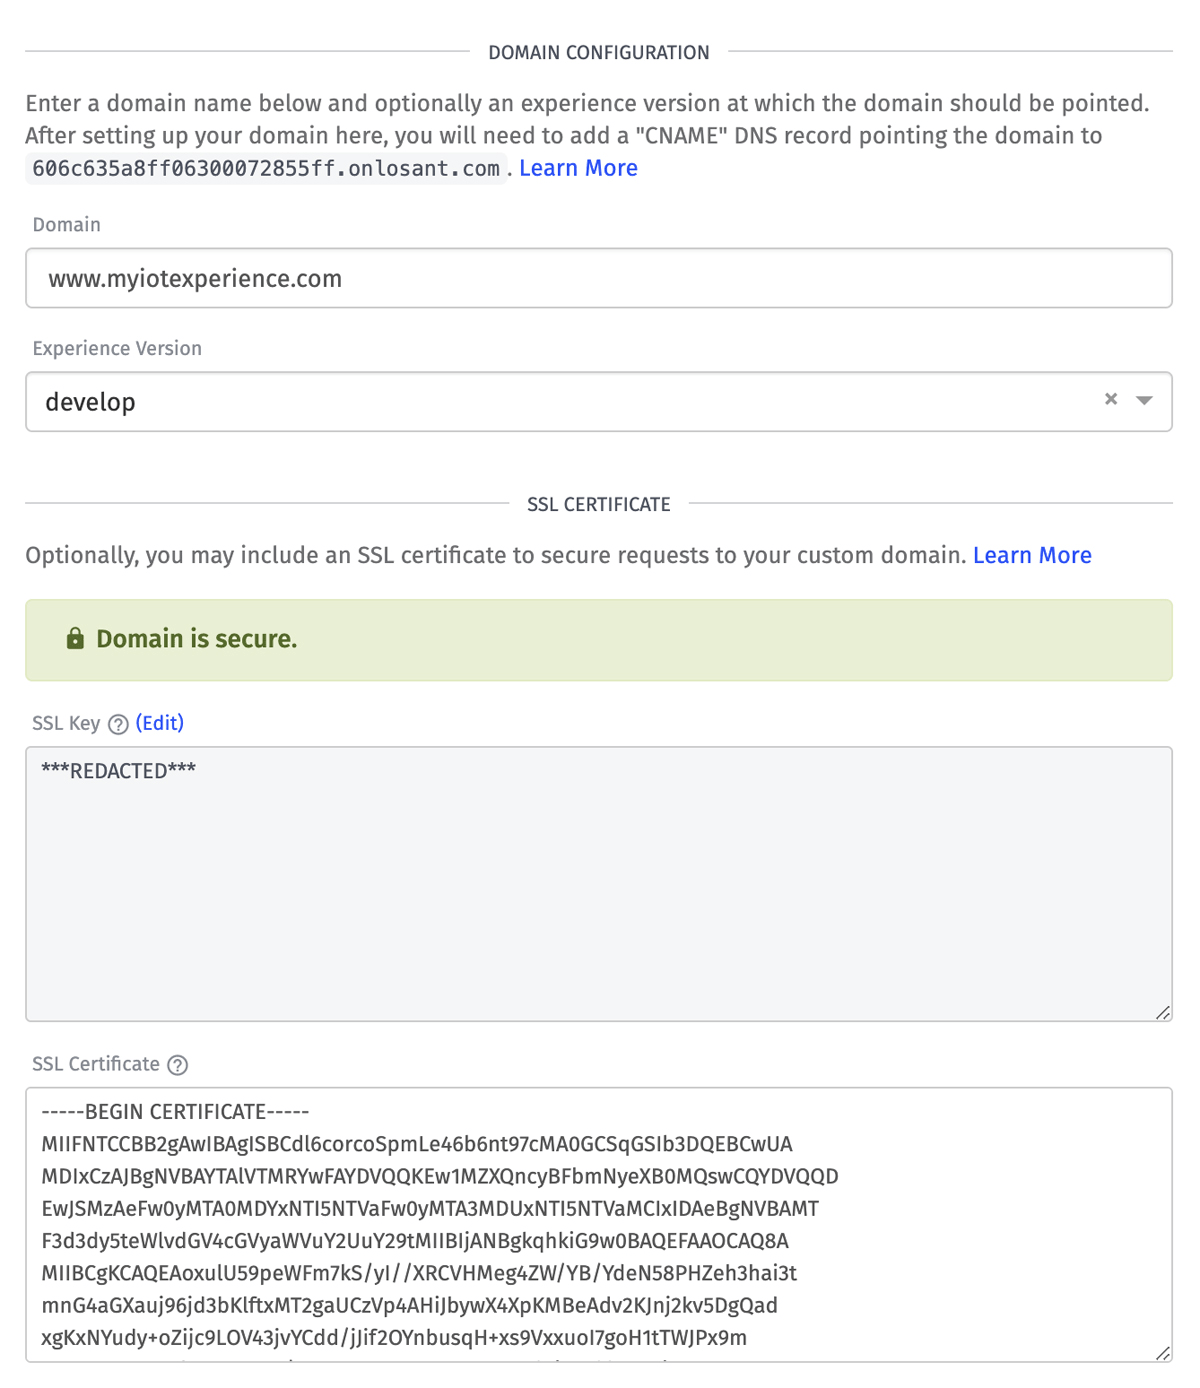
Open the privkey.pem file in a text editor of your choice, copy the contents of privkey.pem and paste them into the SSL Key section on the domain configuration page (including the BEGIN KEY line and END KEY lines):
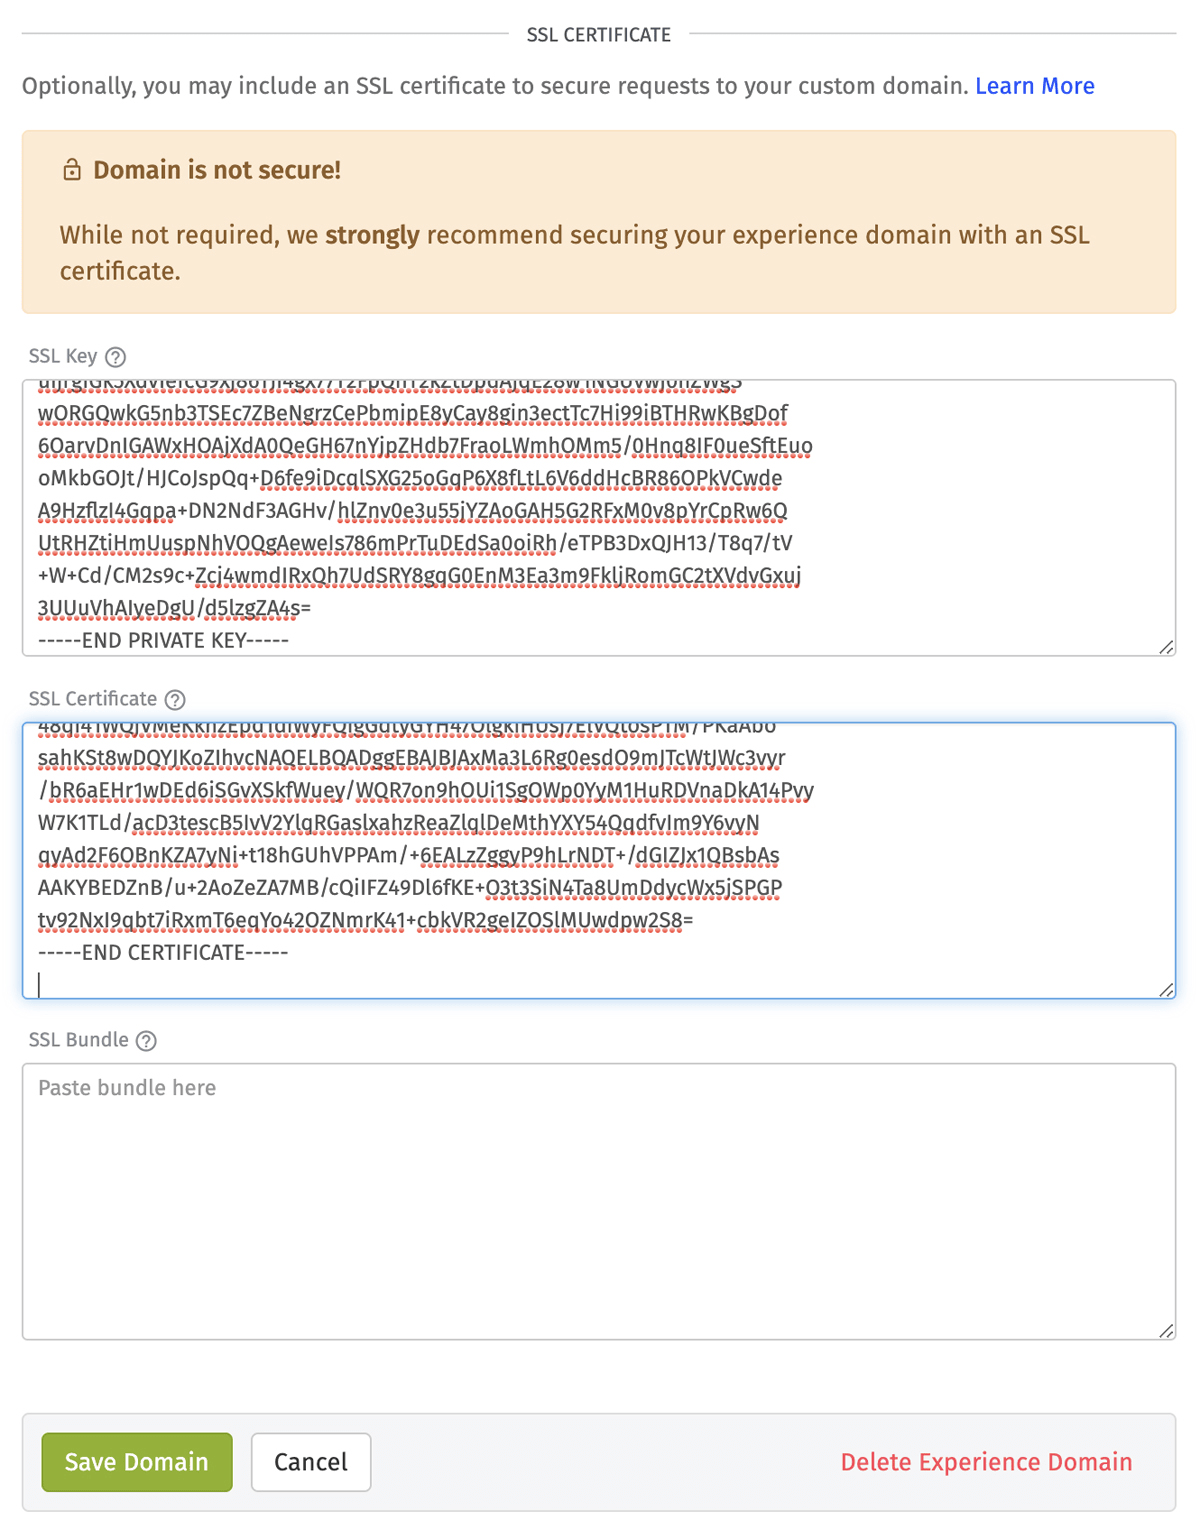
Then do the same for the cert.pem file. Open the file in a text editor of your choice, copy and paste the contents of the cert.pem file into the SSL Certificate field, then press “Save Domain”. In this guide, it is not necessary to put anything into the SSL Bundle field.
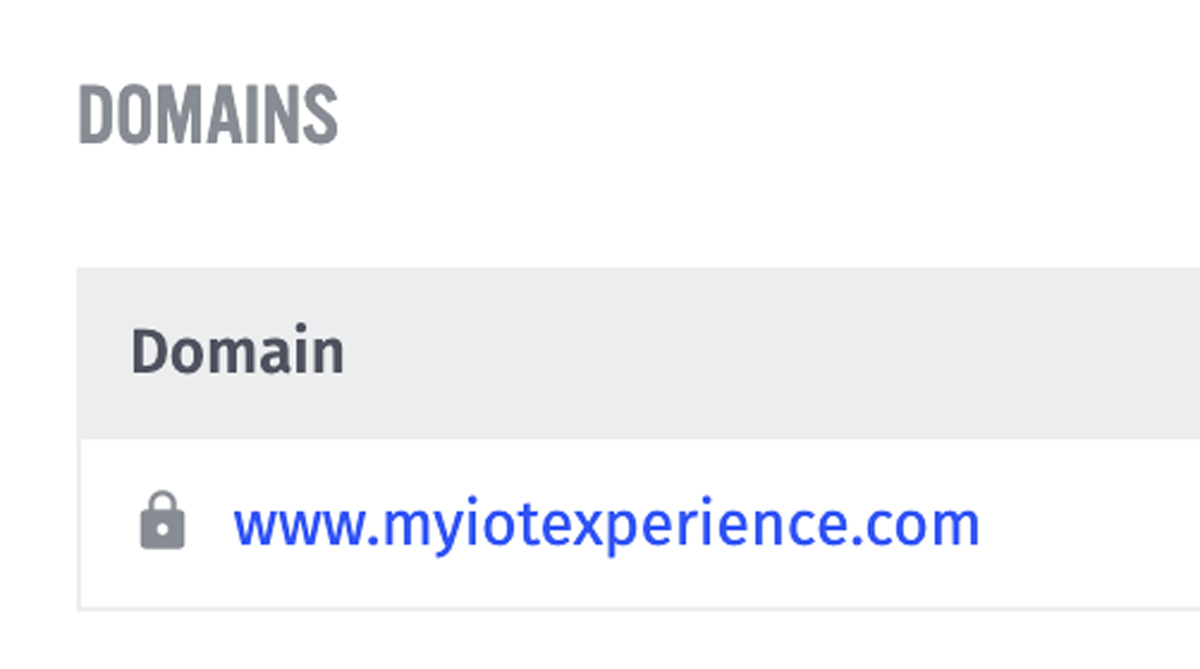
You will be redirected back to the Domains page of your experiences, where you will notice a latched lock next to your domain:
If you click on your domain, and go to the domain configuration page, you will see a green box that says your domain is secure:
Common Places for Errors
Docker Command Directory Error
When running the Docker container, it is important to note that Docker only recognizes certain paths for folders. If you ran the Docker command in Step 2 with a tilde to represent your home directory (instead of $PWD), or did not provide a directory that is allowable by Docker, you will receive the following error:
docker: Error response from daemon: create ~/my-ssl-certificates: "~/my-ssl-certificates" includes invalid characters for a local volume name, only "[a-zA-Z0-9][a-zA-Z0-9_.-]" are allowed. If you intended to pass a host directory, use absolute path.
If you are using MacOS/Linux, you can replace the tilde with $PWD if you would like to create the my-ssl-certificates directory in the directory you are currently in. Alternatively, as Docker suggests, you can use an absolute path for the home directory instead of $PWD. For instance, /Users/yourUserName/my-ssl-certificates.
Container Name Already in Use
If you change your directory, or attempt to run the Certbot Docker container again, you may receive the following error:
docker: Error response from daemon: Conflict. The container name "/certbot" is already in use by container "17d2cf9d0318156c5993115e22fcf124ebc3a5bda9fc4bf712815a67f03b913e". You have to remove (or rename) that container to be able to reuse that name.
You can resolve this issue in one of two ways:
- Rename the container in the docker command from step one. Specifically, change
certbotafter--name. So the first line of the new command would look similar todocker run -it --rm --name certbot-2 \....... - Delete the previously used container. You can do this by running
docker container rm <container-name>where<container-name>is the name of the container you ran. If you ran the Docker command given in Step 1.
Certbot Challenge Failed
When attempting to verify that you have control of the domain name, and have created a TXT record with the correct information, you can get the following error:
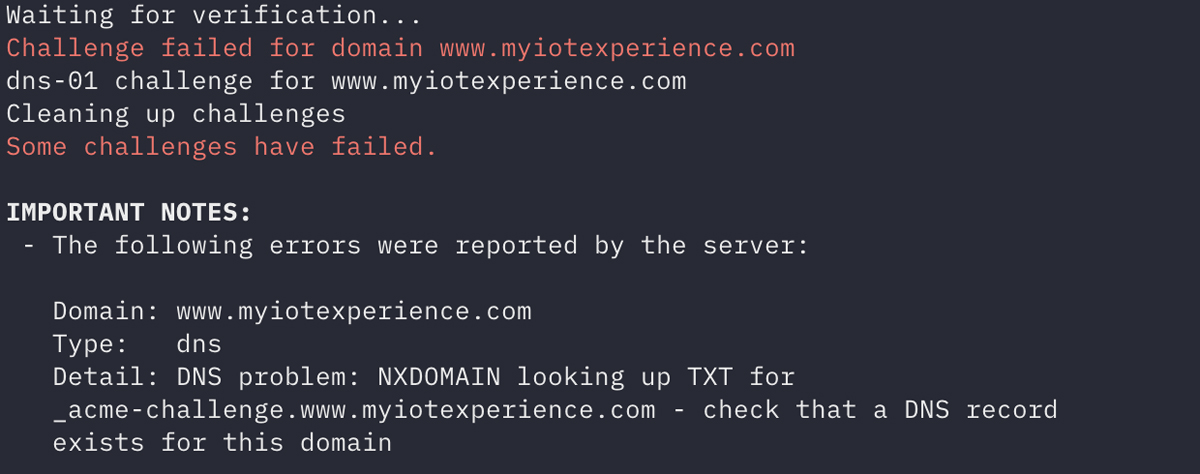
This can mean a few things:
- The host for the TXT record is not correct
- For example instead of
_acme-challenge.wwwfor the host, you entered_acme-challengeor_acme-challenge.www.myiotexperience.com
- For example instead of
- The DNS hasn’t propagated yet. DNS propagation can take up to 24 hours.
Certificate Doesn't Match Domain
When attempting to save your domain in Losant, you get an error that the certificate does not match the domain you’ve provided.
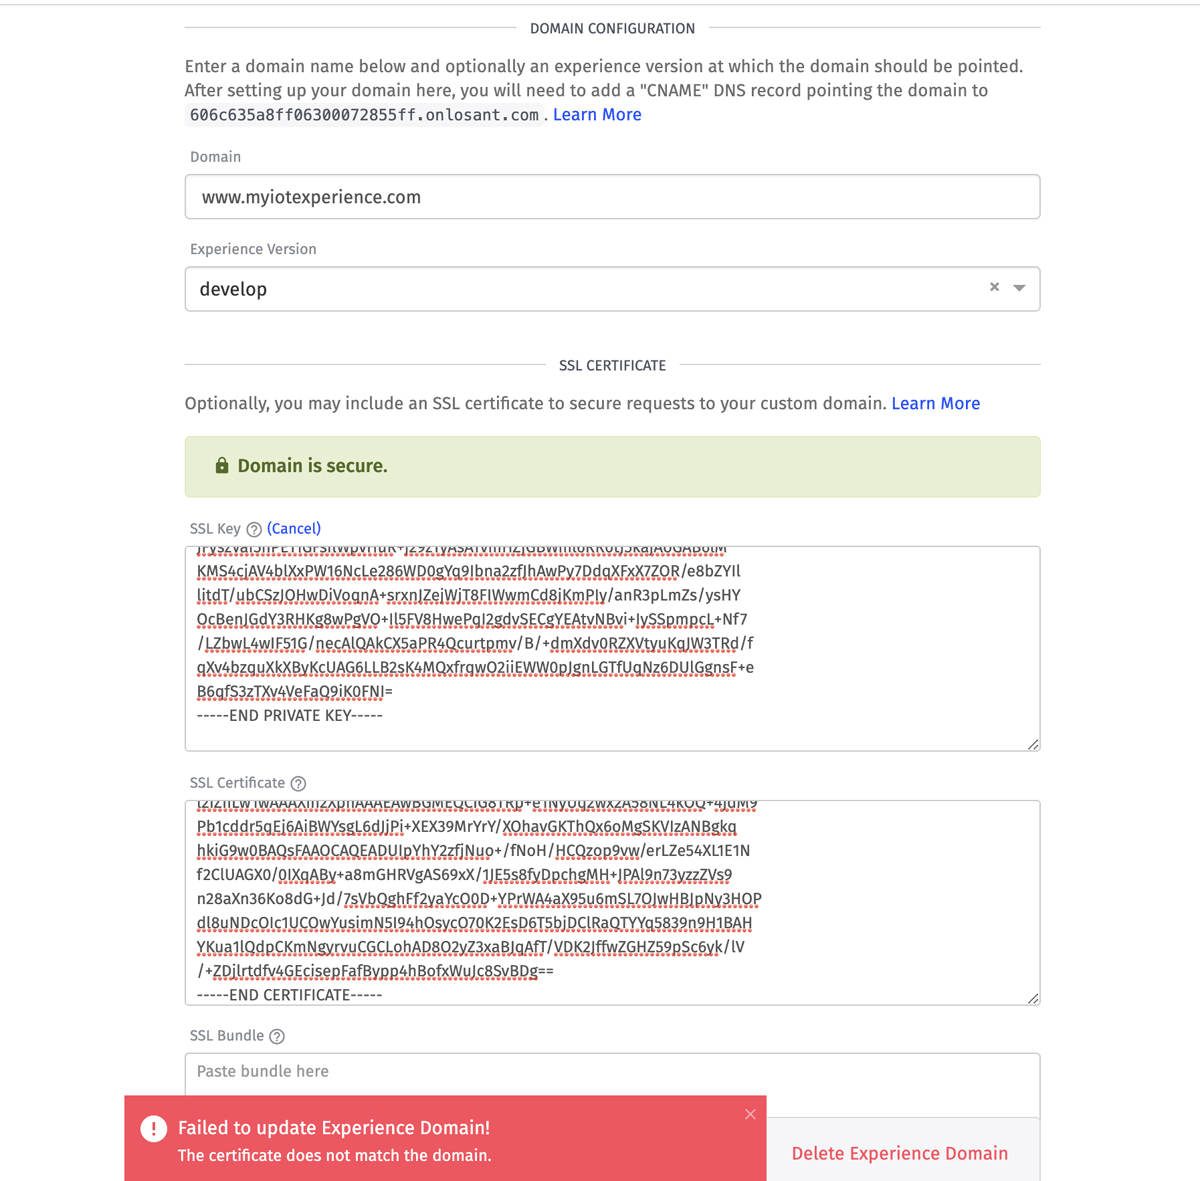
In this case, you will need to ensure that you copied and pasted the certificate correctly. Once you have confirmed that you have, you will need start over at Step 2 and ensure that you enter the domain name into your terminal correctly.
Was this page helpful?
Still looking for help? You can also search the Losant Forums or submit your question there.