Device: State Node
The Device: State Node allows a workflow to update the state of a device.
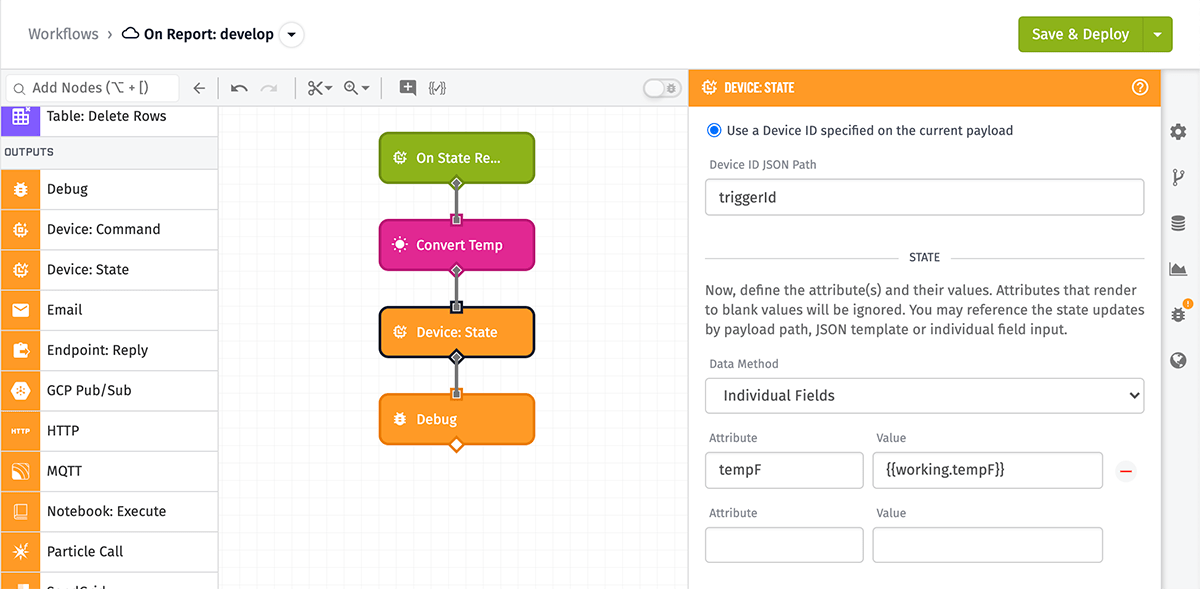
Node Properties
There are multiple inputs to define for the Device: State Node. These break up into four different sections.
Choosing a Device
First, choose a device for which you would like to report state. You may choose a specific device or reference a device ID on your payload using a payload path.
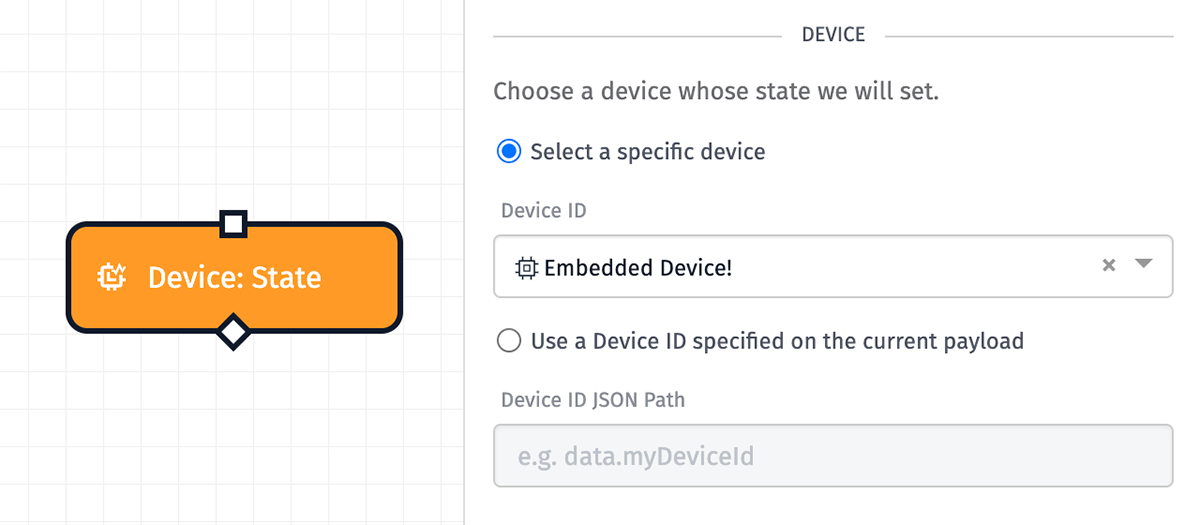
For Edge Workflows, the default value is the payload path of deviceId, which is the device on which the workflow is running. You may still choose a specific device, but are limited to choosing only certain devices in your application …
- Any Peripheral Device, though the peripheral must either allow reporting state through any gateway (a “floating” device), or the peripheral must list the edge compute device on which the workflow is running as its gateway.
- Any Edge Compute Device, though this will only allow for reporting state for the device on which the workflow is running (in which case you may as well use the default payload path).
For Embedded Workflows, there is no option to choose a device as the workflow may only report state on behalf of the device on which the workflow is running.
Defining State Properties
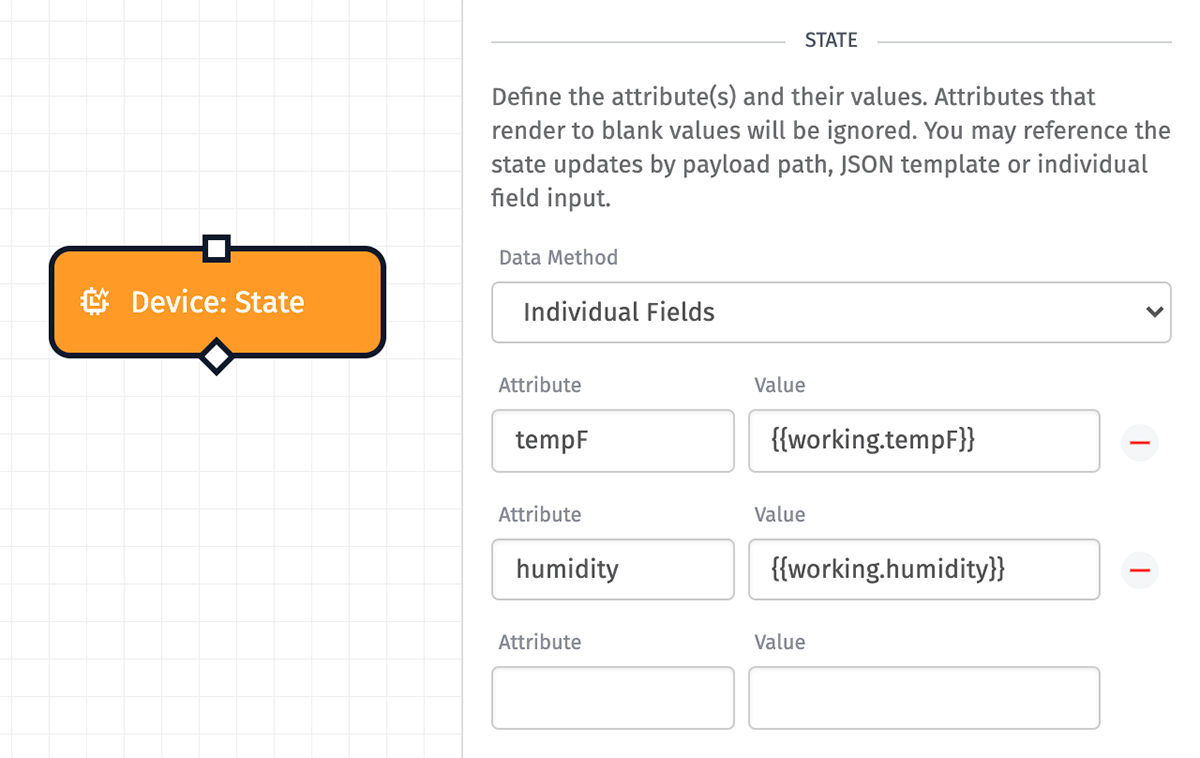
Next, choose how you would like to define the state attributes to report. Begin by choosing a “Data Method” …
-
Individual Fields allows for entering attribute values one at a time, defining the key and value for each attribute you would like to report.
- If you chose a specific device to report for, each of the device’s attributes will display as a row for which a value may be filled in using individual string templates (e.g.
{{ working.humidity }}). Blank values will not have their corresponding attributes reported. - When the device is specified as a template or as a payload path, you must fill in both the attribute names and values.
- If you chose a specific device to report for, each of the device’s attributes will display as a row for which a value may be filled in using individual string templates (e.g.
- JSON Template allows for defining a JSON template that resolves to one of the accepted state object formats.
- Payload Path is similar to the “JSON template” option, except the object is already defined on your payload and you must simply provide the payload path to the object. The path’s value must also match one of the accepted state object formats.
Setting a Time
Next, choose the timestamp to associate with this state report.
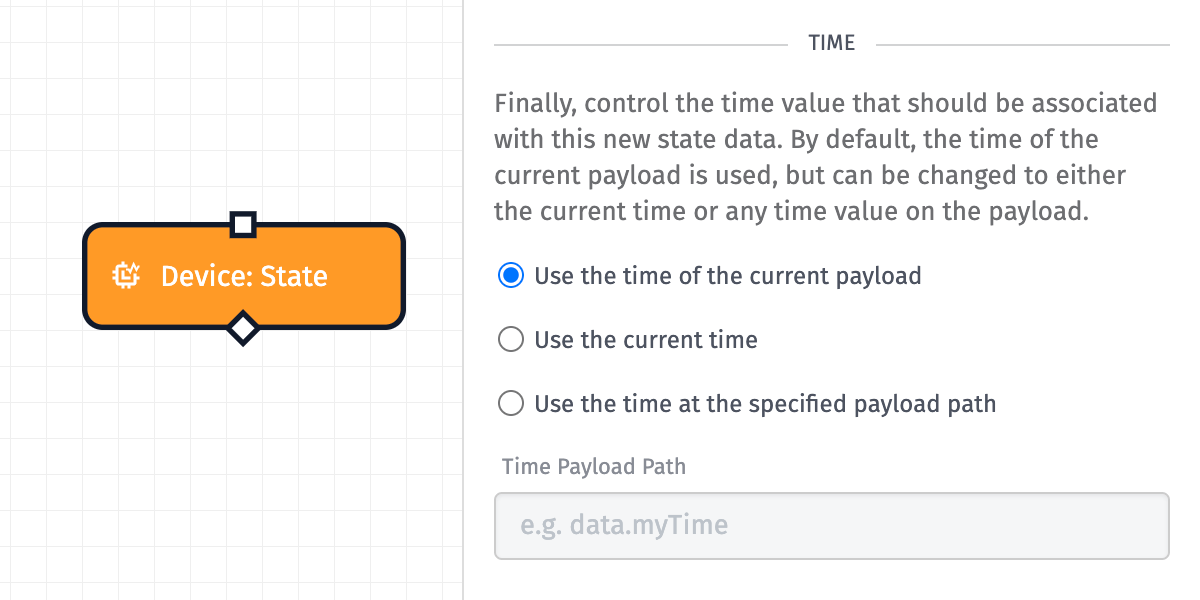
- ”Use the time of the current payload” is the default option. This is the time at which the workflow run began (corresponding to the
timeproperty in the original trigger’s payload). If you are appending or overwriting state properties on an existing state report (by firing the workflow from the Device: State Trigger), select this option to maintain your changes at the same timestamp as the original report. - ”Use the current time” reports state at the time the node executes, which can be anywhere from a few milliseconds up to 60 seconds after the workflow run began. This option is not recommended for most use cases, as delays in workflow execution (latency issues or, more commonly, batch-reporting of queued states for edge or embedded workflows) can create wide time gaps between the state report and the event that triggered it.
- ”Use the time at the specified payload path” allows for defining a custom timestamp at which to report the new device state. The value at the given payload path must be in a supported format and within the allowable past and future time ranges when reporting state with a timestamp through other channels.
Note: When using the Device State Node in an Embedded Workflow, the time is based on the timestamp in milliseconds passed to eea_loop (for “Use the time of the current payload”) or the result of an eea_get_time call (for “Use the current time”). If, for either of those cases, the provided value does not appear to be an Epoch timestamp (in other words, if the time is based on the device’s last boot time), the Device State Node will not include a timestamp on the state report (which means that Losant will timestamp the state report with the time it is received by Losant).
Returning a Result
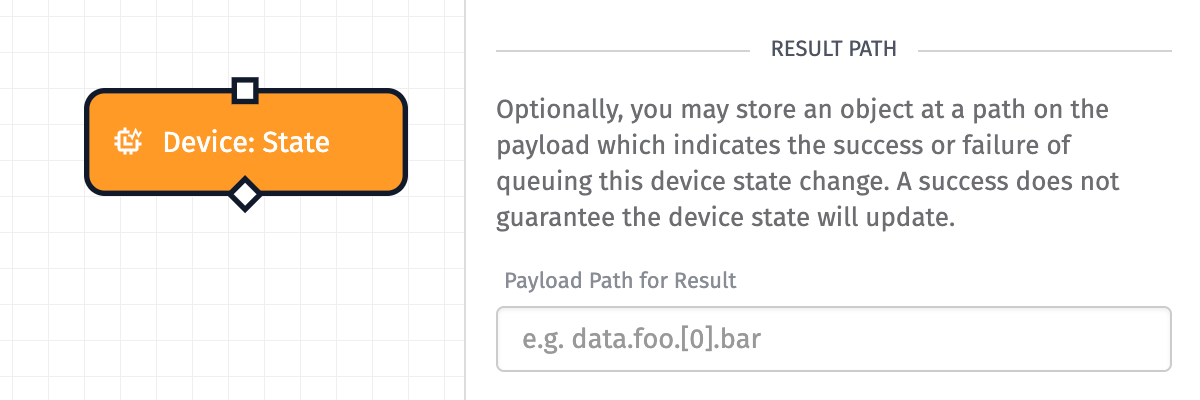
Optionally, you may define a payload path where the result of the state report will be placed.
For Embedded Workflows, the value placed at this path is the error code returned by eea_send_message, where 0 indicates success and any other code indicates an error. If no result path is provided and eea_send_message returns a non-0 value, the node will throw an error and execution of the workflow will cease.
For all other workflow classes, the value will be an object with a success property. Note that a success only indicates that the state report has been enqueued; it does not necessarily mean the state has yet been recorded for the device, nor that it ever will be.
For example, if you define a single attribute to report, and that attribute is not defined on the device, the provided state will not record despite the node returning a success object at the provided path.
Unlike for Embedded Workflows, an error to enqueue the state report without providing a result path will not cause the node to throw an error; execution of subsequent nodes will continue.
Offline Edge Support
Edge Compute Devices are not required to be connected to the internet (or Losant) at all times, and the Device: State Node respects that. If the device is not connected to the internet when the node executes, the state report is timestamped with the current time (according to the clock on the device) and will be sent to Losant when the device next connects to the internet.
Embedded Devices, however, do not have a message queue mechanism built into the Embedded Edge Agent and thus, by default, state reports will not reach the Losant platform if the device is disconnected from the MQTT broker. However, it is possible to create your own queue system on your hardware and replay the state reports when the device connects again.
State Object Formats
When defining your state report as a JSON template or a payload path, the Device: State Node accepts a number of different formats for the state data.
- An object of attribute name/value pairs (essentially the same as how the
Individual Fieldsmode works), like the following:
{
  "attr1": "value1",
  "attr2": "value2",
  ...
}- A complete state object, of the same form that Losant accepts over MQTT or REST. When this form is used, if you provide a timestamp directly, the time provided in the node configuration is ignored. In this case, the object looks like the following:
{
  "time": "2016-06-13T04:00:00.000Z",
  "data": {
    "attr1": "value1",
    "attr2": "value2",
    ...
  }
}- An array of objects of attribute name/value pairs. When using this mode, take care to remember that every object in the array will be reported with the same timestamp defined in the node. So if you set a value for the same attribute in two different objects in the array, the second one will be the one that is actually applied. In this case, the object looks like the following:
[
  {
    "attr1": "value1",
    "attr2": "value2",
    ...
  },
  {
    "attr3": "value3",
    "attr4": "value4",
    ...
  },
  ...
]
Note: When using the Device State Node in an Embedded Workflow, this form is not supported.
- An array of complete state objects, of the same form that Losant accepts over MQTT or REST. Using this form, you can send multiple state reports with different timestamps at once. When this form is used, the time provided in the node configuration is only used for entries in the array where you do not explicitly provide timestamps. In this case, the object looks like the following:
[
  {
    "time": "2016-06-13T04:00:00.000Z",
    "data": {
      "attr1": "value1a",
      "attr2": "value2a",
      ...
    }
  },
  {
    "time": "2016-06-13T05:00:00.000Z",
    "data": {
      "attr1": "value1b",
      "attr2": "value2b",
      ...
    }
  },
  ...
]
Note: When using the Device State Node in an Embedded Workflow and providing state in this form the time provided in the node configuration is always ignored - it is assumed each entry has an appropriate timestamp set.
Node Example
The returned value for a successfully enqueued device state update, given the example node configuration in the screenshots above:
{
  "success": true
}
Note: This does not guarantee that the device state will be updated. This only means that initial validations on the properties have passed, and the update has been queued.
Node Errors
In the case of a failed enqueued device state update:
{
  "error": {
    "message": "A message about the error that occurred"
  }
}
Node Throttling and Limits
The Device: State Node has the same throttling rules as using the API or the broker to set state: It is limited to 30 calls in a 15-second window per device, or on average, 2 calls per second. Also note that the Device: State Node has a maximum message size of 256KB, regardless of if the message contains one or multiple state reports.
Related Nodes
Was this page helpful?
Still looking for help? You can also search the Losant Forums or submit your question there.
